
What You’ll Learn
SympleHost has a lot of features, and it’s normal to feel a bit lost at first. This article walks you through exactly where everything lives so you can find what you need without guessing.
The Sidebar — Your Main Menu
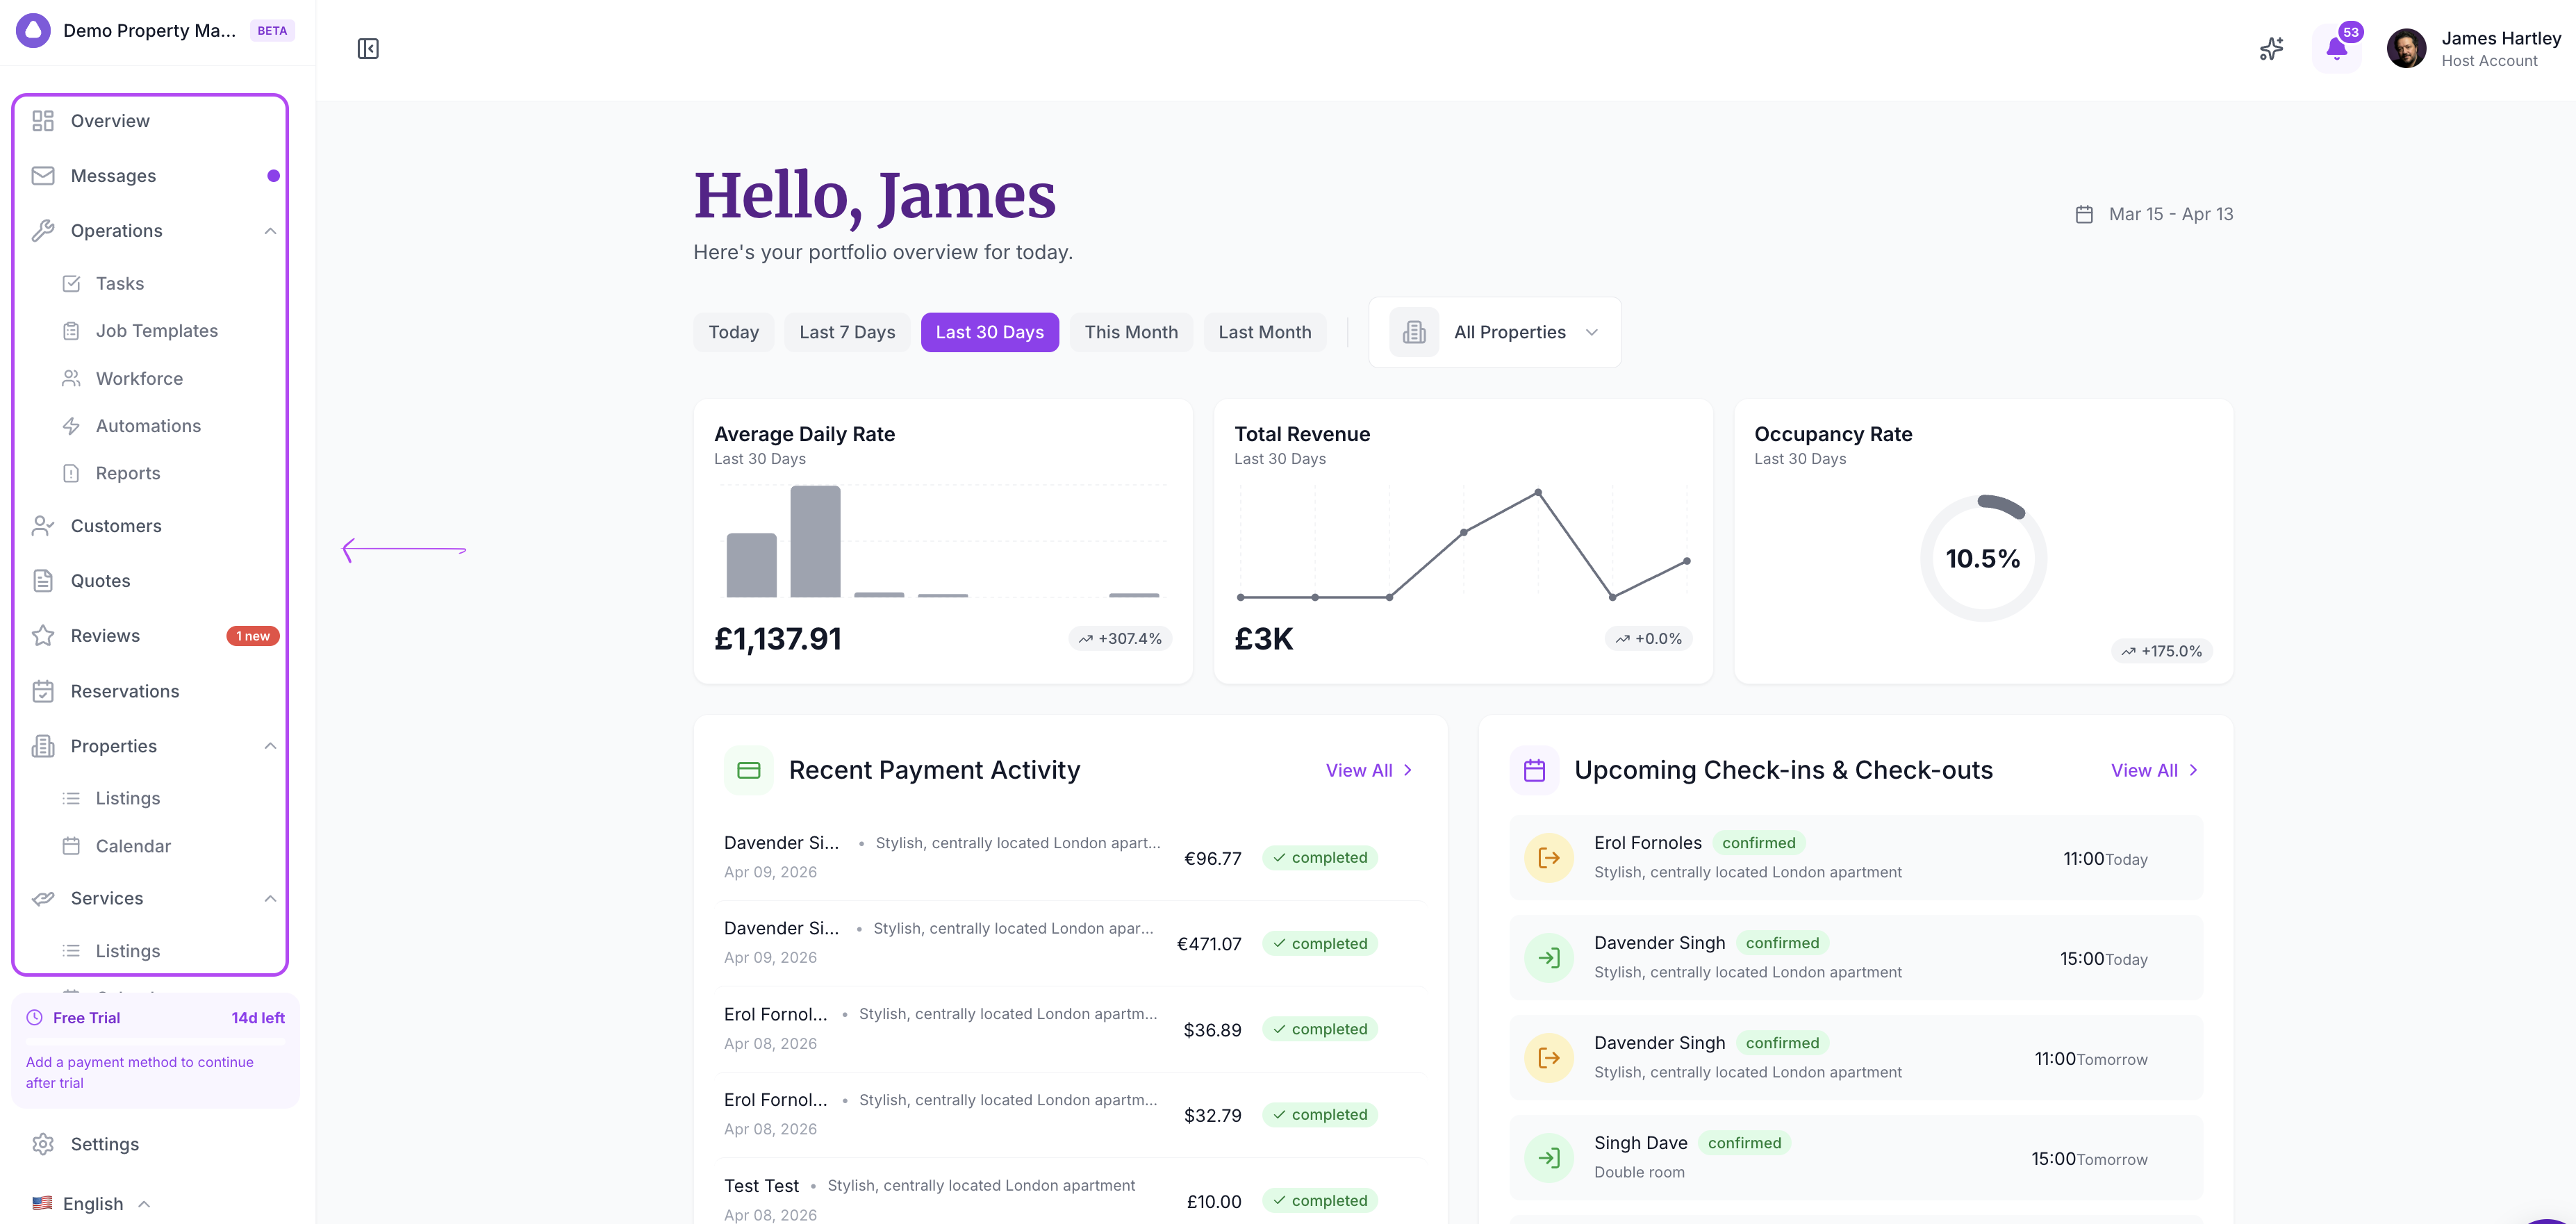
The sidebar on the left side of the screen is how you navigate SympleHost. It’s always visible, and it’s organized into logical sections. Some sections expand when you click them to reveal sub-pages.
Here’s every item in the sidebar and what it’s for:
Top Level
| Menu Item | What It’s For |
|---|---|
| Overview | Your main dashboard — messages, tasks, arrivals, reviews, reservations, and daily activity |
| Calendars | Calendar hub for property and service bookings |
| Messages | Unified inbox for supported guest conversations |
| Reservations | All property reservations across channels |
| Operations | Unified work hub for tasks, templates, workforce, automations, reports, and expenses |
| Customers | Your guest and customer database |
| Reviews | Monitor and respond to guest reviews |
| Guide Books | Create digital welcome guides, recommendations, and guest-facing information |
| Listings | Manage properties, services, pricing, availability, and channel setup |
| Rentals | Manage rental items when this feature is enabled |
Direct (Separate Section)
| Menu Item | What It’s For |
|---|---|
| Quotes | Create and send quotations to guests |
| Websites | Build and manage direct booking websites |
| Dashboard | Manage connected booking accounts |
Analytics
| Menu Item | What It’s For |
|---|---|
| Financial Reports | Revenue, reservation, tax, payout, profit and loss, and booking pace reports when enabled |
Settings — Where Configuration Lives
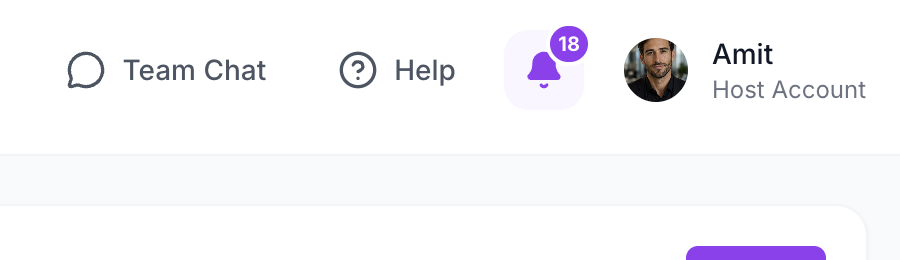
Settings is opened from the profile menu in the top right. Click your profile photo or name, then choose Settings.
Settings is organized into several groups:
Account & Profile
- Profile — Your personal name, photo, and preferences
- General — Workspace name, logo, country, currency, timezone, date/time format
- Company — Legal name and business name
- Security — Password and security settings
- Legal — Legal and compliance information
Billing & Payments
- Billing — Your subscription plan and billing details
- Payment Gateway — Connect Stripe, Razorpay, HitPay, Doku, Xendit, or manual payments depending on your country and account access
- Transactions — View payment transaction history
- Financial Report — Revenue and financial reporting
Direct Bookings
- Host Profile & Contact — Configure your direct booking host details
- Guest Contact — Decide what guest contact information is collected
- Deposits — Set deposit collection rules
- Cancellation Policy — Manage direct booking cancellation policies
- Fees & Taxes — Configure fees and tax settings
- Booking Settings — Customize the booking flow for guests
Team Management
- Team Members — Invite and manage team members, set roles and permissions
Integrations
- Integrations — Connect WhatsApp, Instagram, Facebook Messenger, supported email channels, OTAs, and other connected services depending on account access
Notifications & Automation
- Notifications — Choose which alerts you receive
- Task Reminders — Configure reminders for overdue or upcoming tasks
Other
- Tags — Create custom tags to organize listings, bookings, and guests
- Style Guide — Available in development environments for design and component checks
Quick Access — Search
If you know what you’re looking for but can’t remember where it lives, use the Search feature. Click the search icon (or navigate to the search page) to search across your properties, bookings, customers, and more.
Tips for Getting Around
- Feature-based visibility — Some sections only show when they are enabled for your account.
- Active page highlight — The current page is highlighted in the sidebar so you always know where you are.
- Settings is separate — Think of Settings as the “behind the scenes” area. Day-to-day work happens in the main sidebar; one-time configuration starts from the top-right profile menu.
- Role-based visibility — Some menu items may not appear for all team members. What you see depends on your role and permissions. Account Admins see everything; Property Owners get full visibility on their listings, with no platform admin.