
How to Add a New Listing
Use manual setup when you are starting from scratch, running a fully direct-booking business, or do not yet have a listing on an OTA. If you already have an Airbnb listing, use Airbnb Import instead so SympleHost can pull in the existing listing details faster.
-
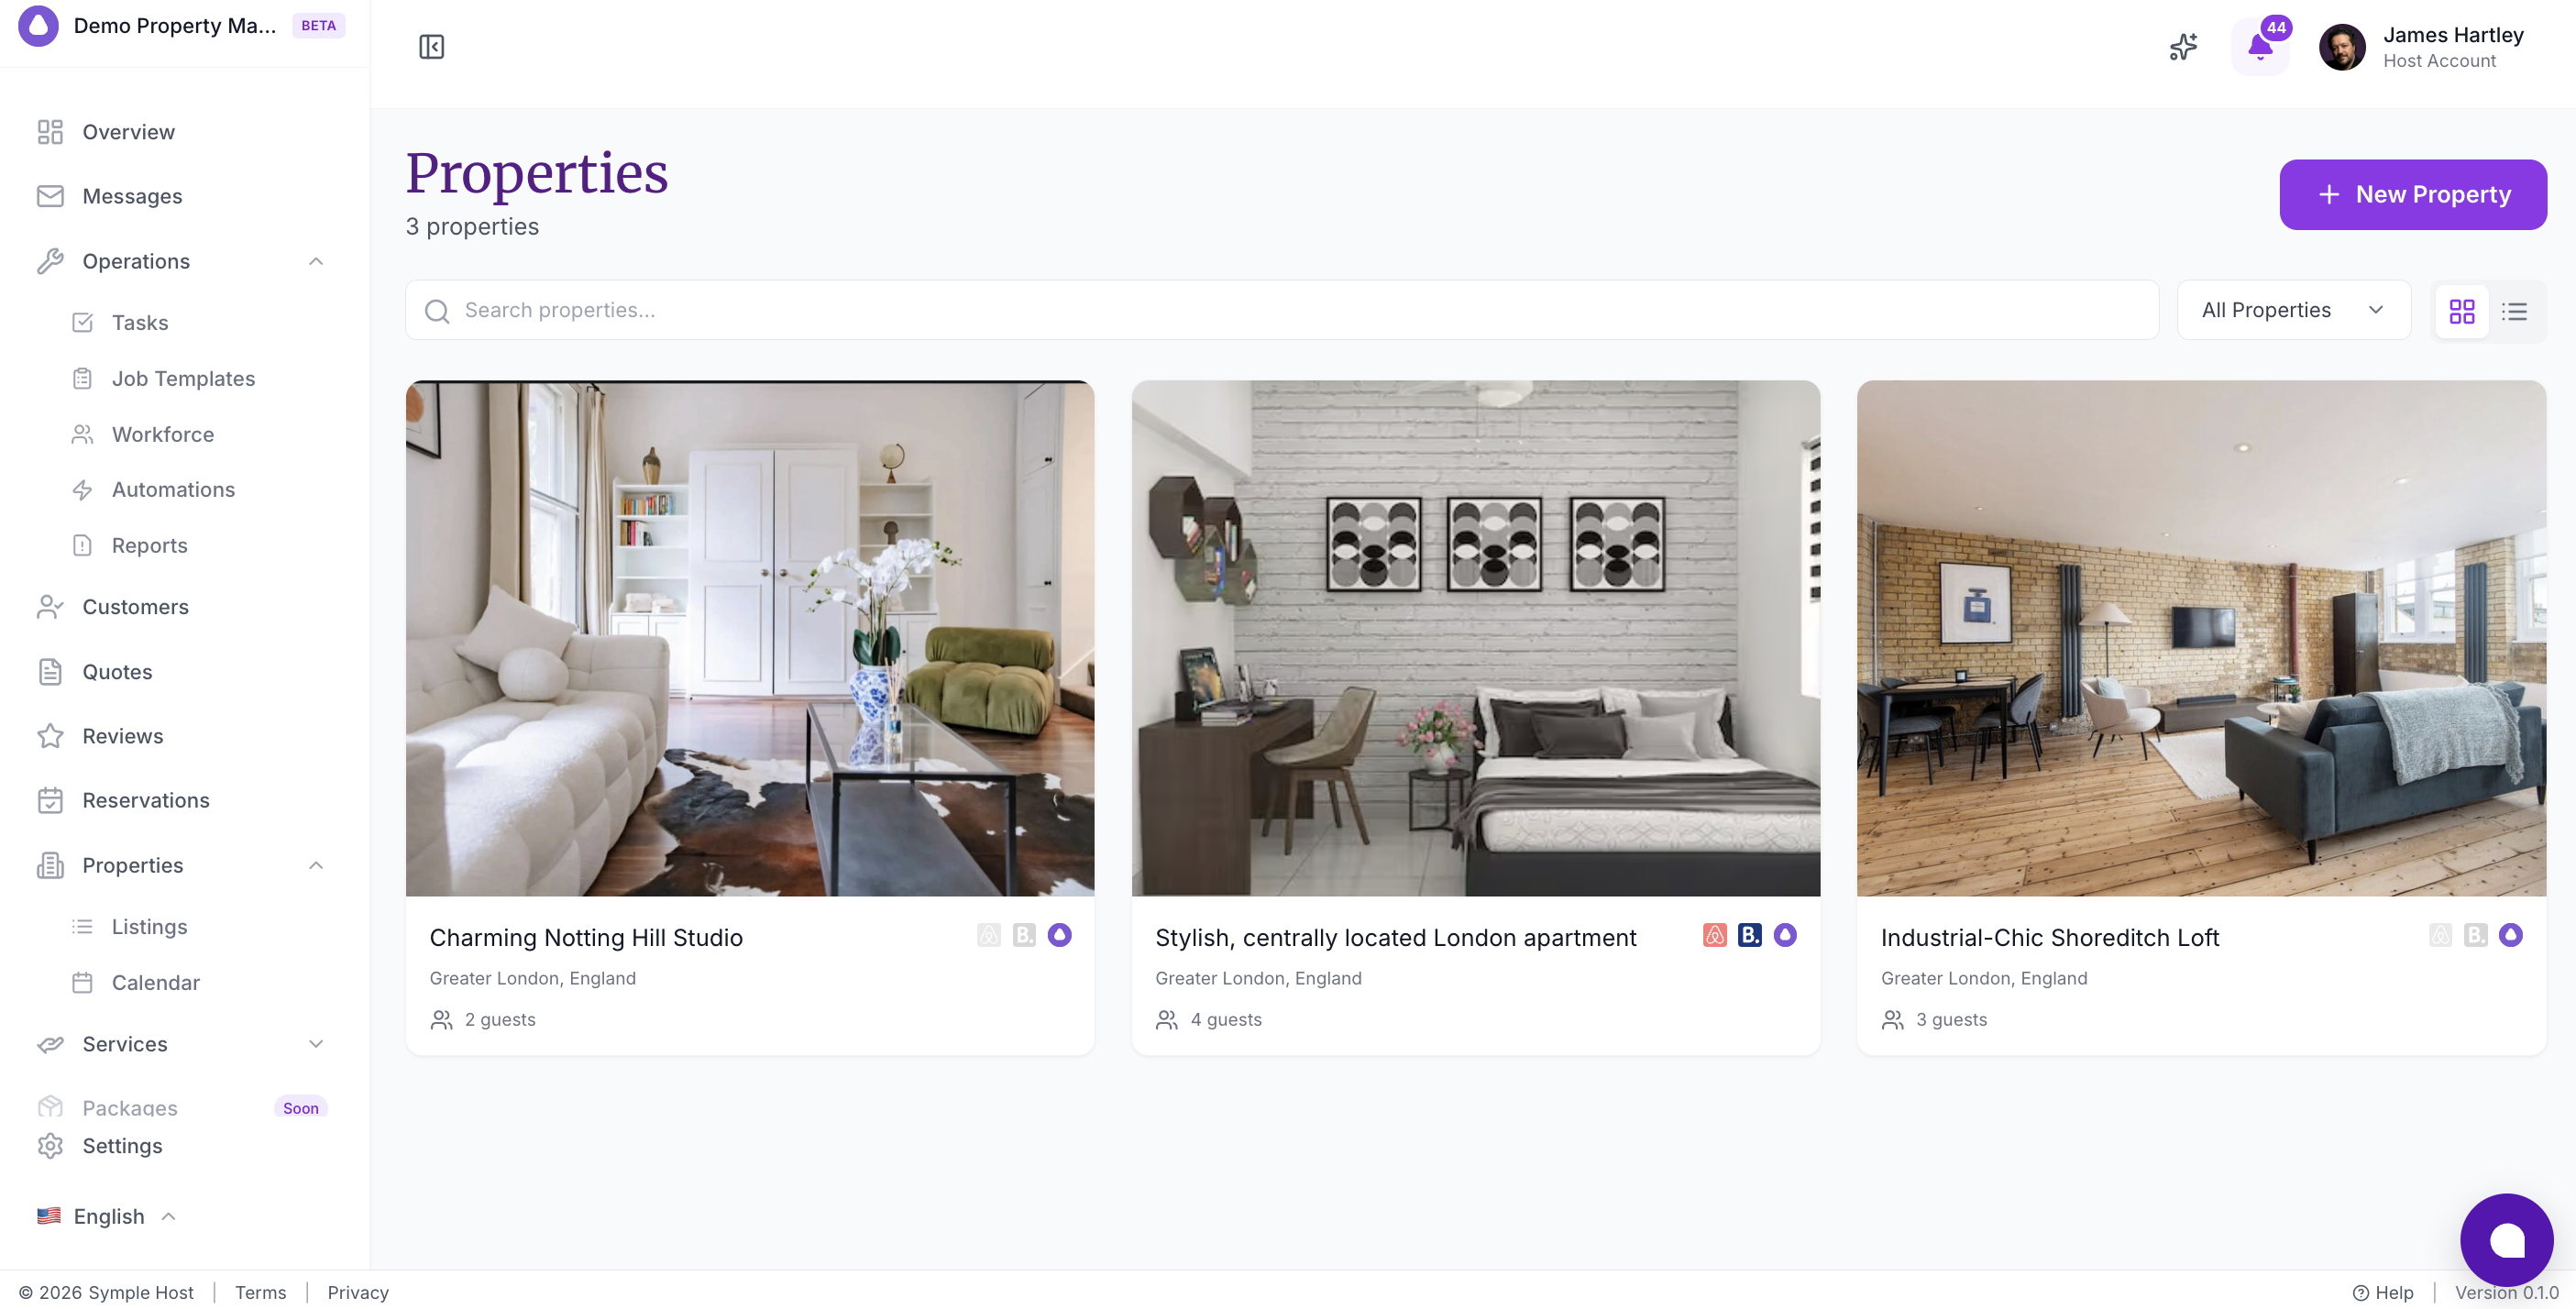
Click Listings in the sidebar.
You’ll see your existing listings displayed as cards. In the top right, you’ll find the + New Property button.
-
Click + New Property.
-
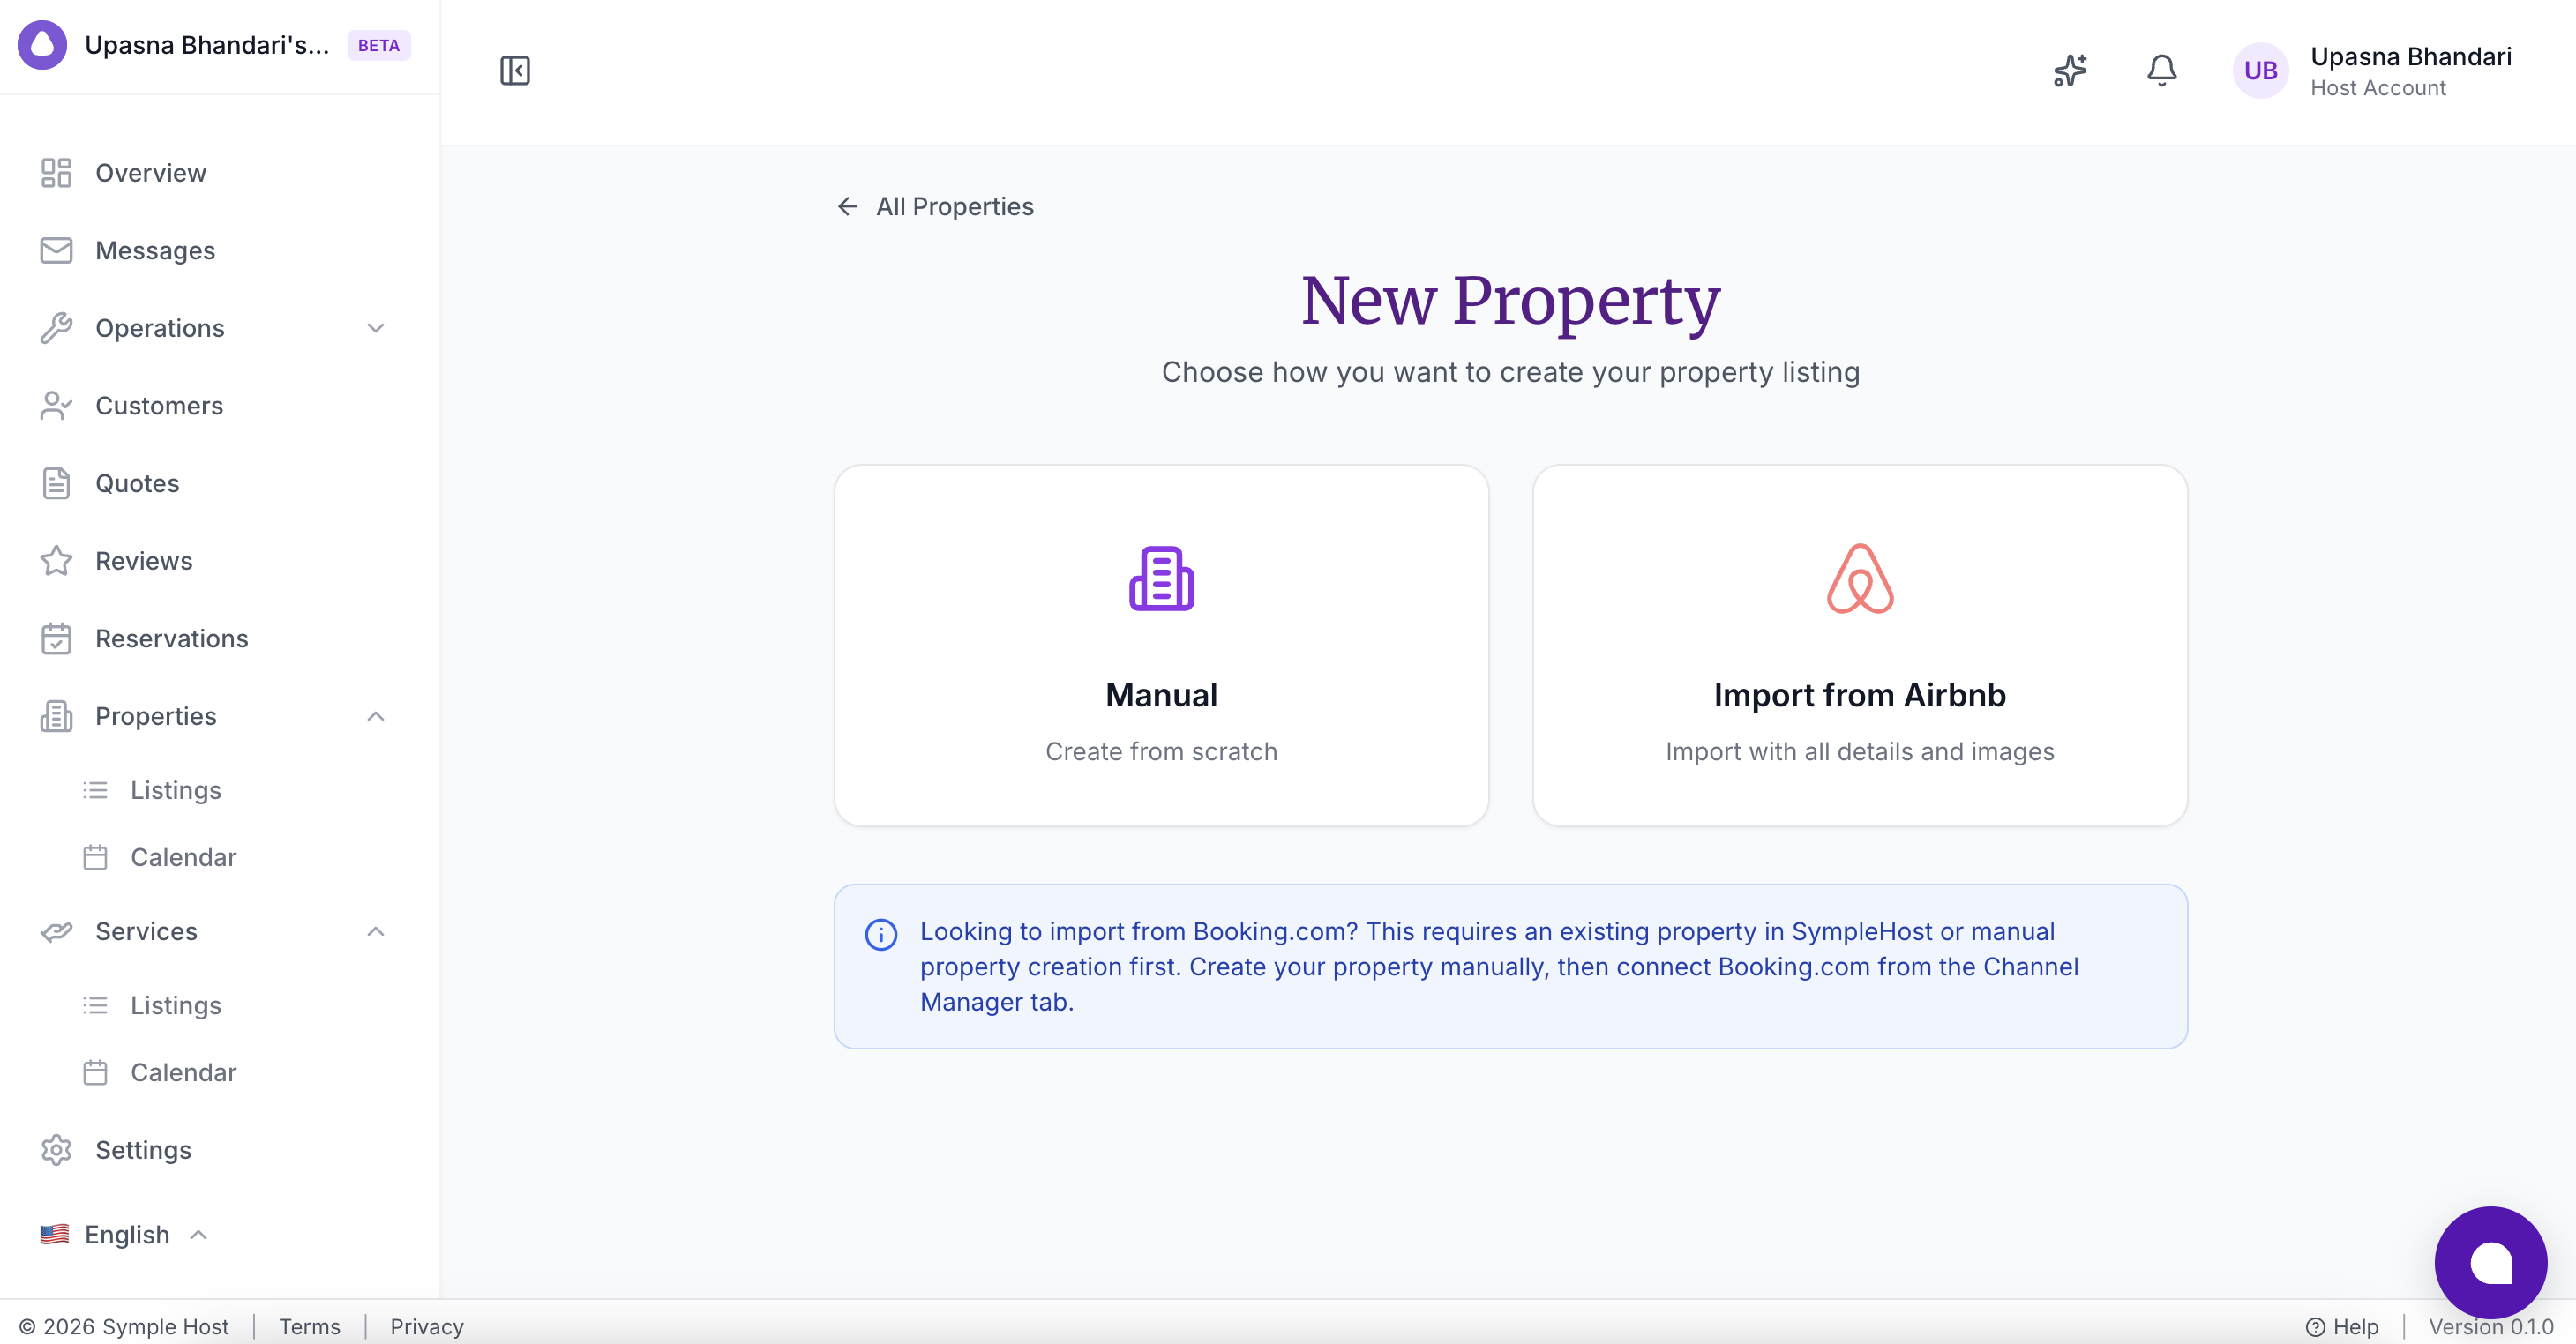
Select Manual to create from scratch.
You may also see Airbnb Import or Use Copilot depending on your account. Use Airbnb Import when the property is already live on Airbnb. Once the property exists in SympleHost, connect Booking.com, Expedia, Agoda, VRBO, and other supported OTAs through Channel Manager.
-
Choose Standalone when asked what type of property you are creating. Standalone covers a single apartment, house, villa, or a guesthouse/boutique hotel with identical rooms under one listing.
-
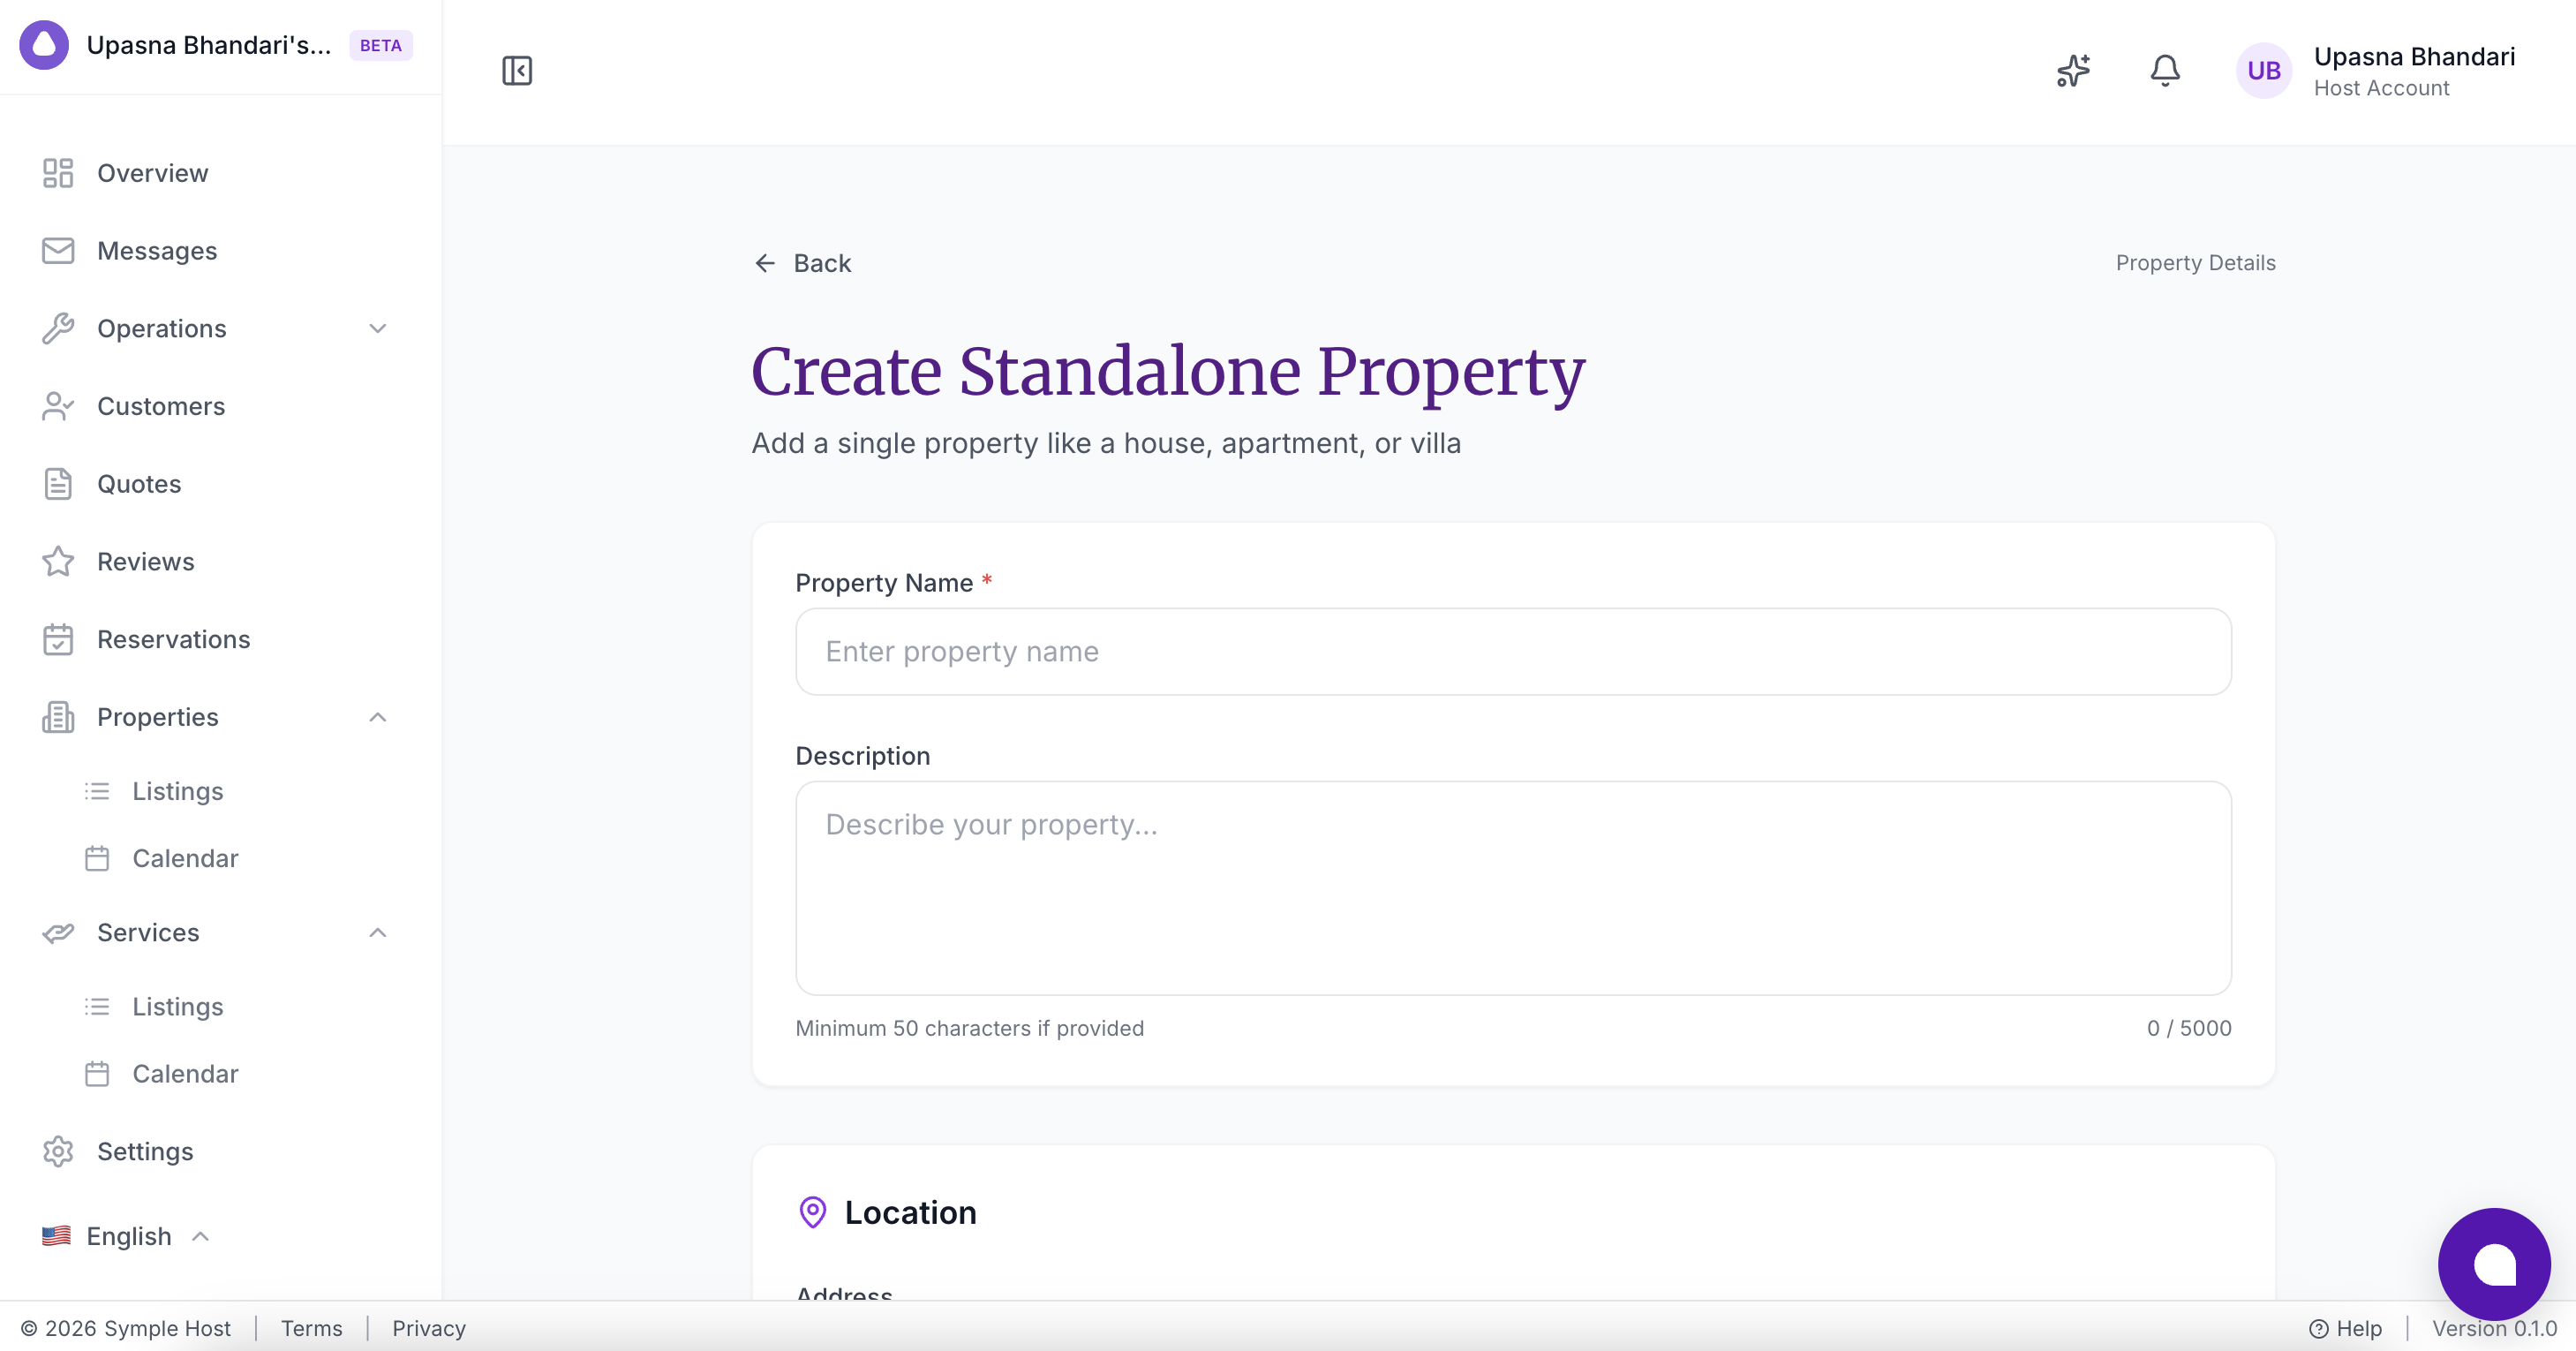
Fill in your Property Details:
- Property Name — this is what guests will see
- Description — a summary of your property (minimum 50 characters, up to 3,000)
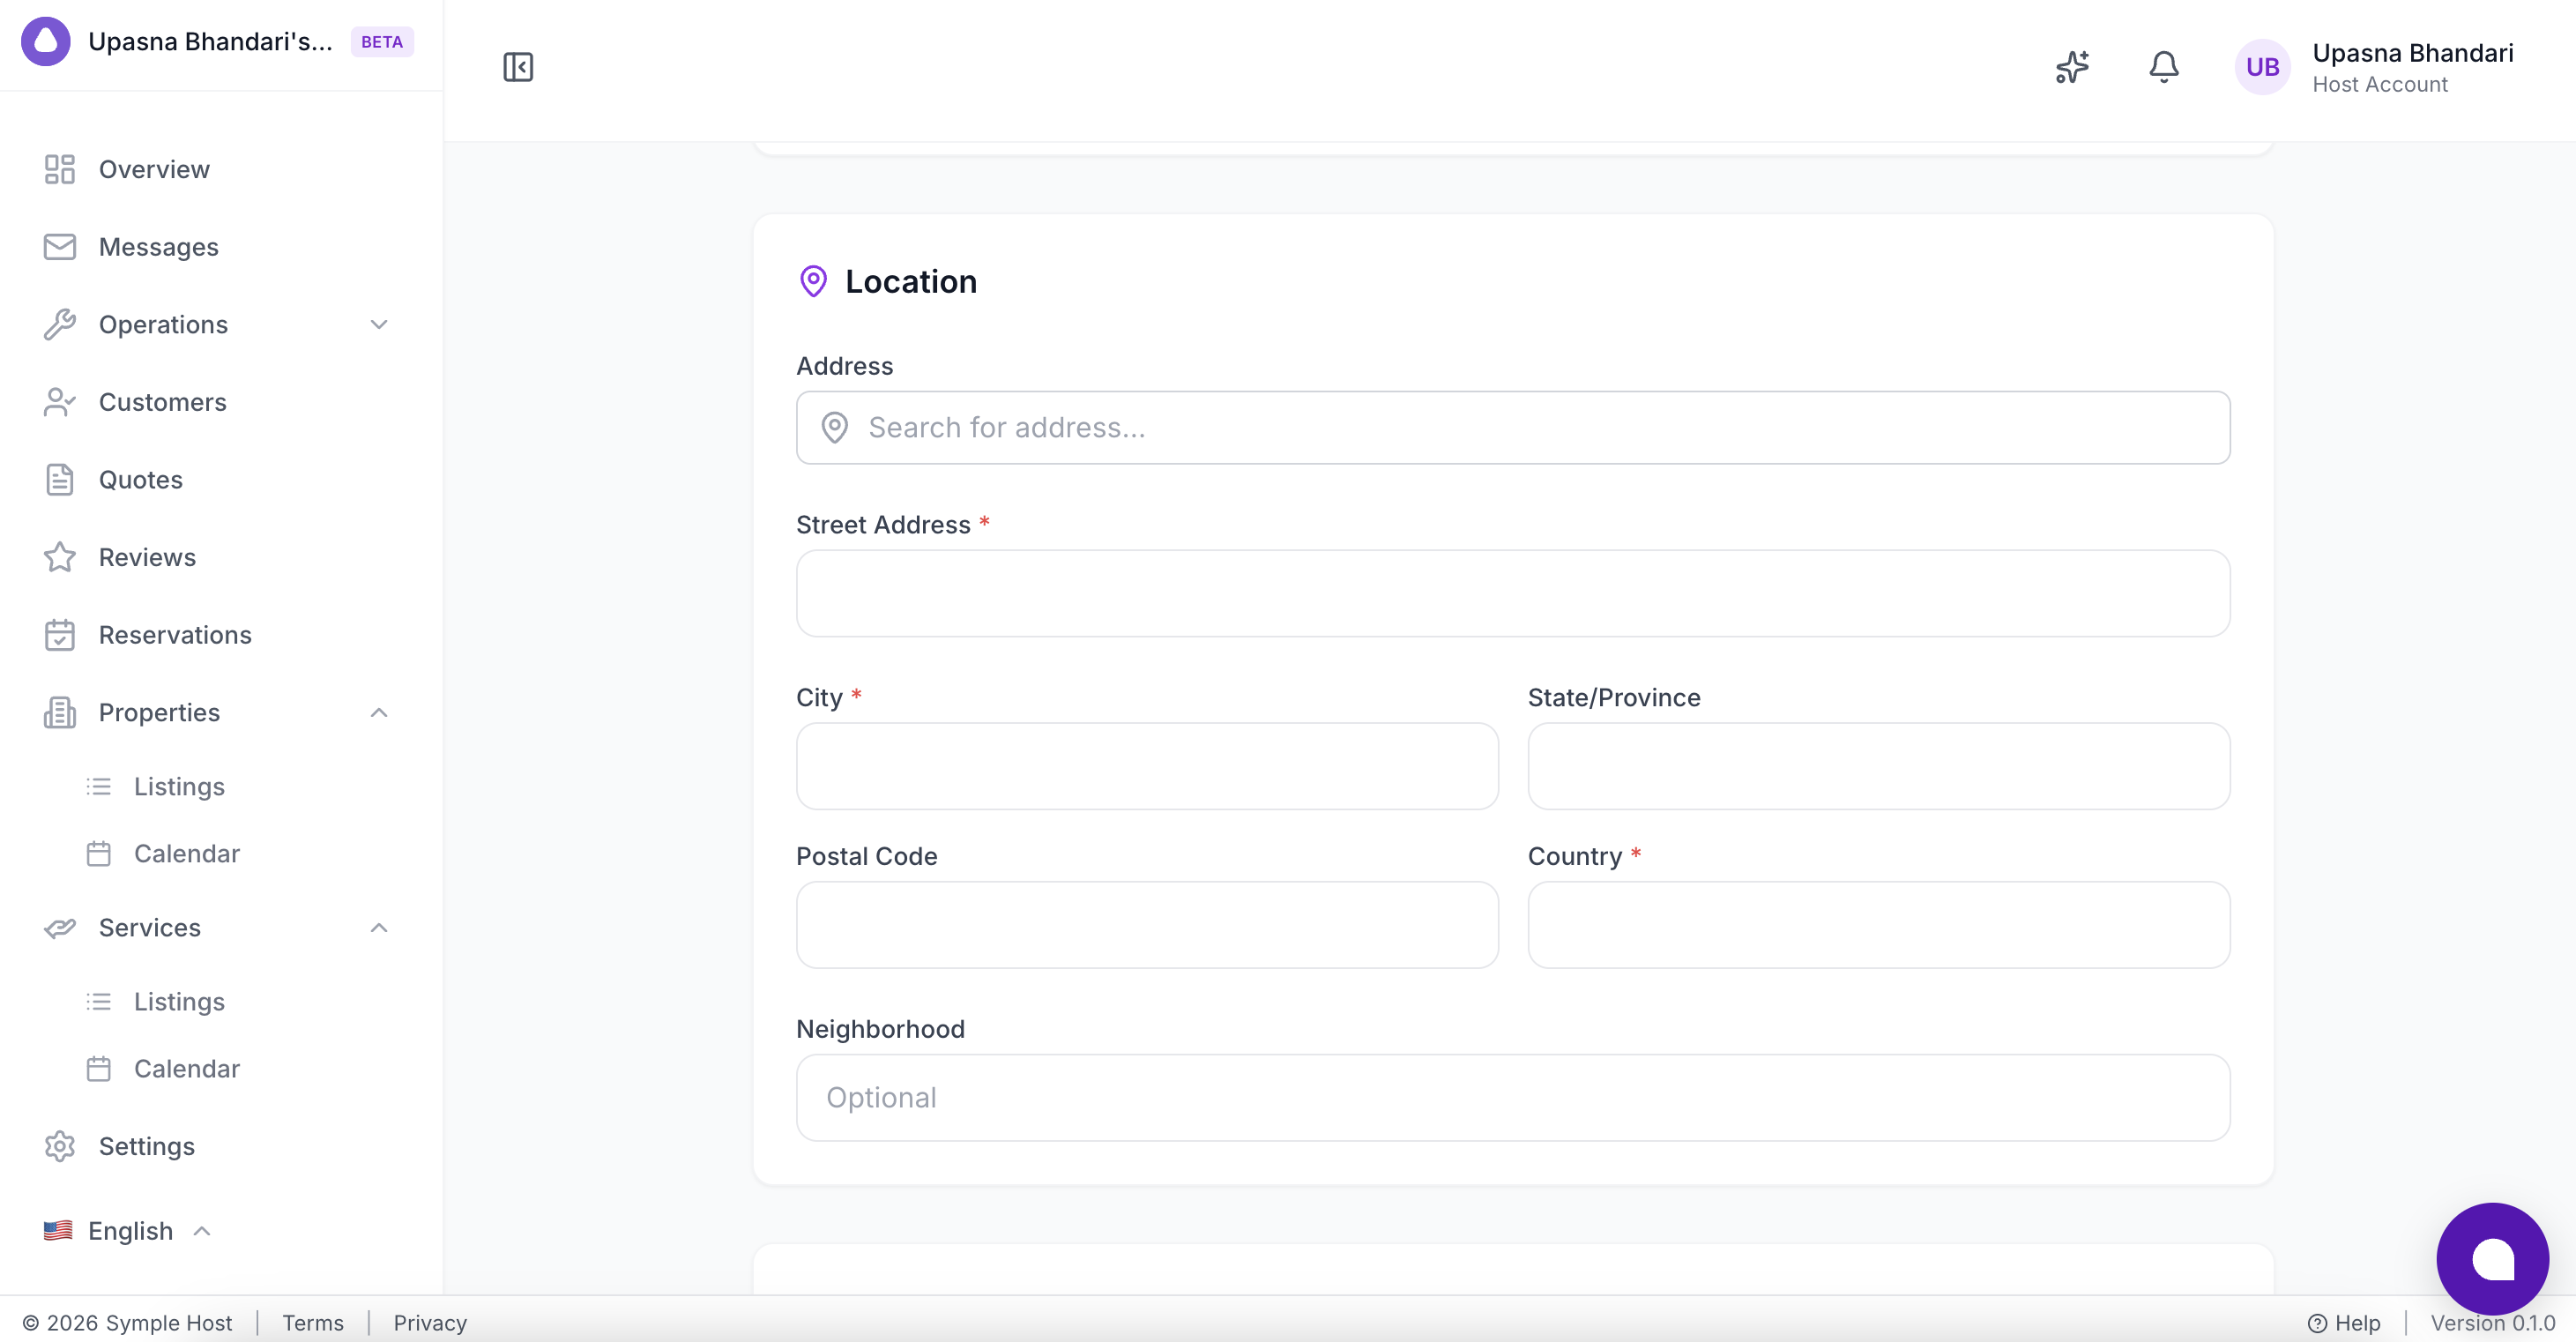
- Add your Location — use the address search bar for auto-complete, or enter it manually. Street Address, City, and Country are required. State/Province, Postal Code, and Neighborhood are optional.
-
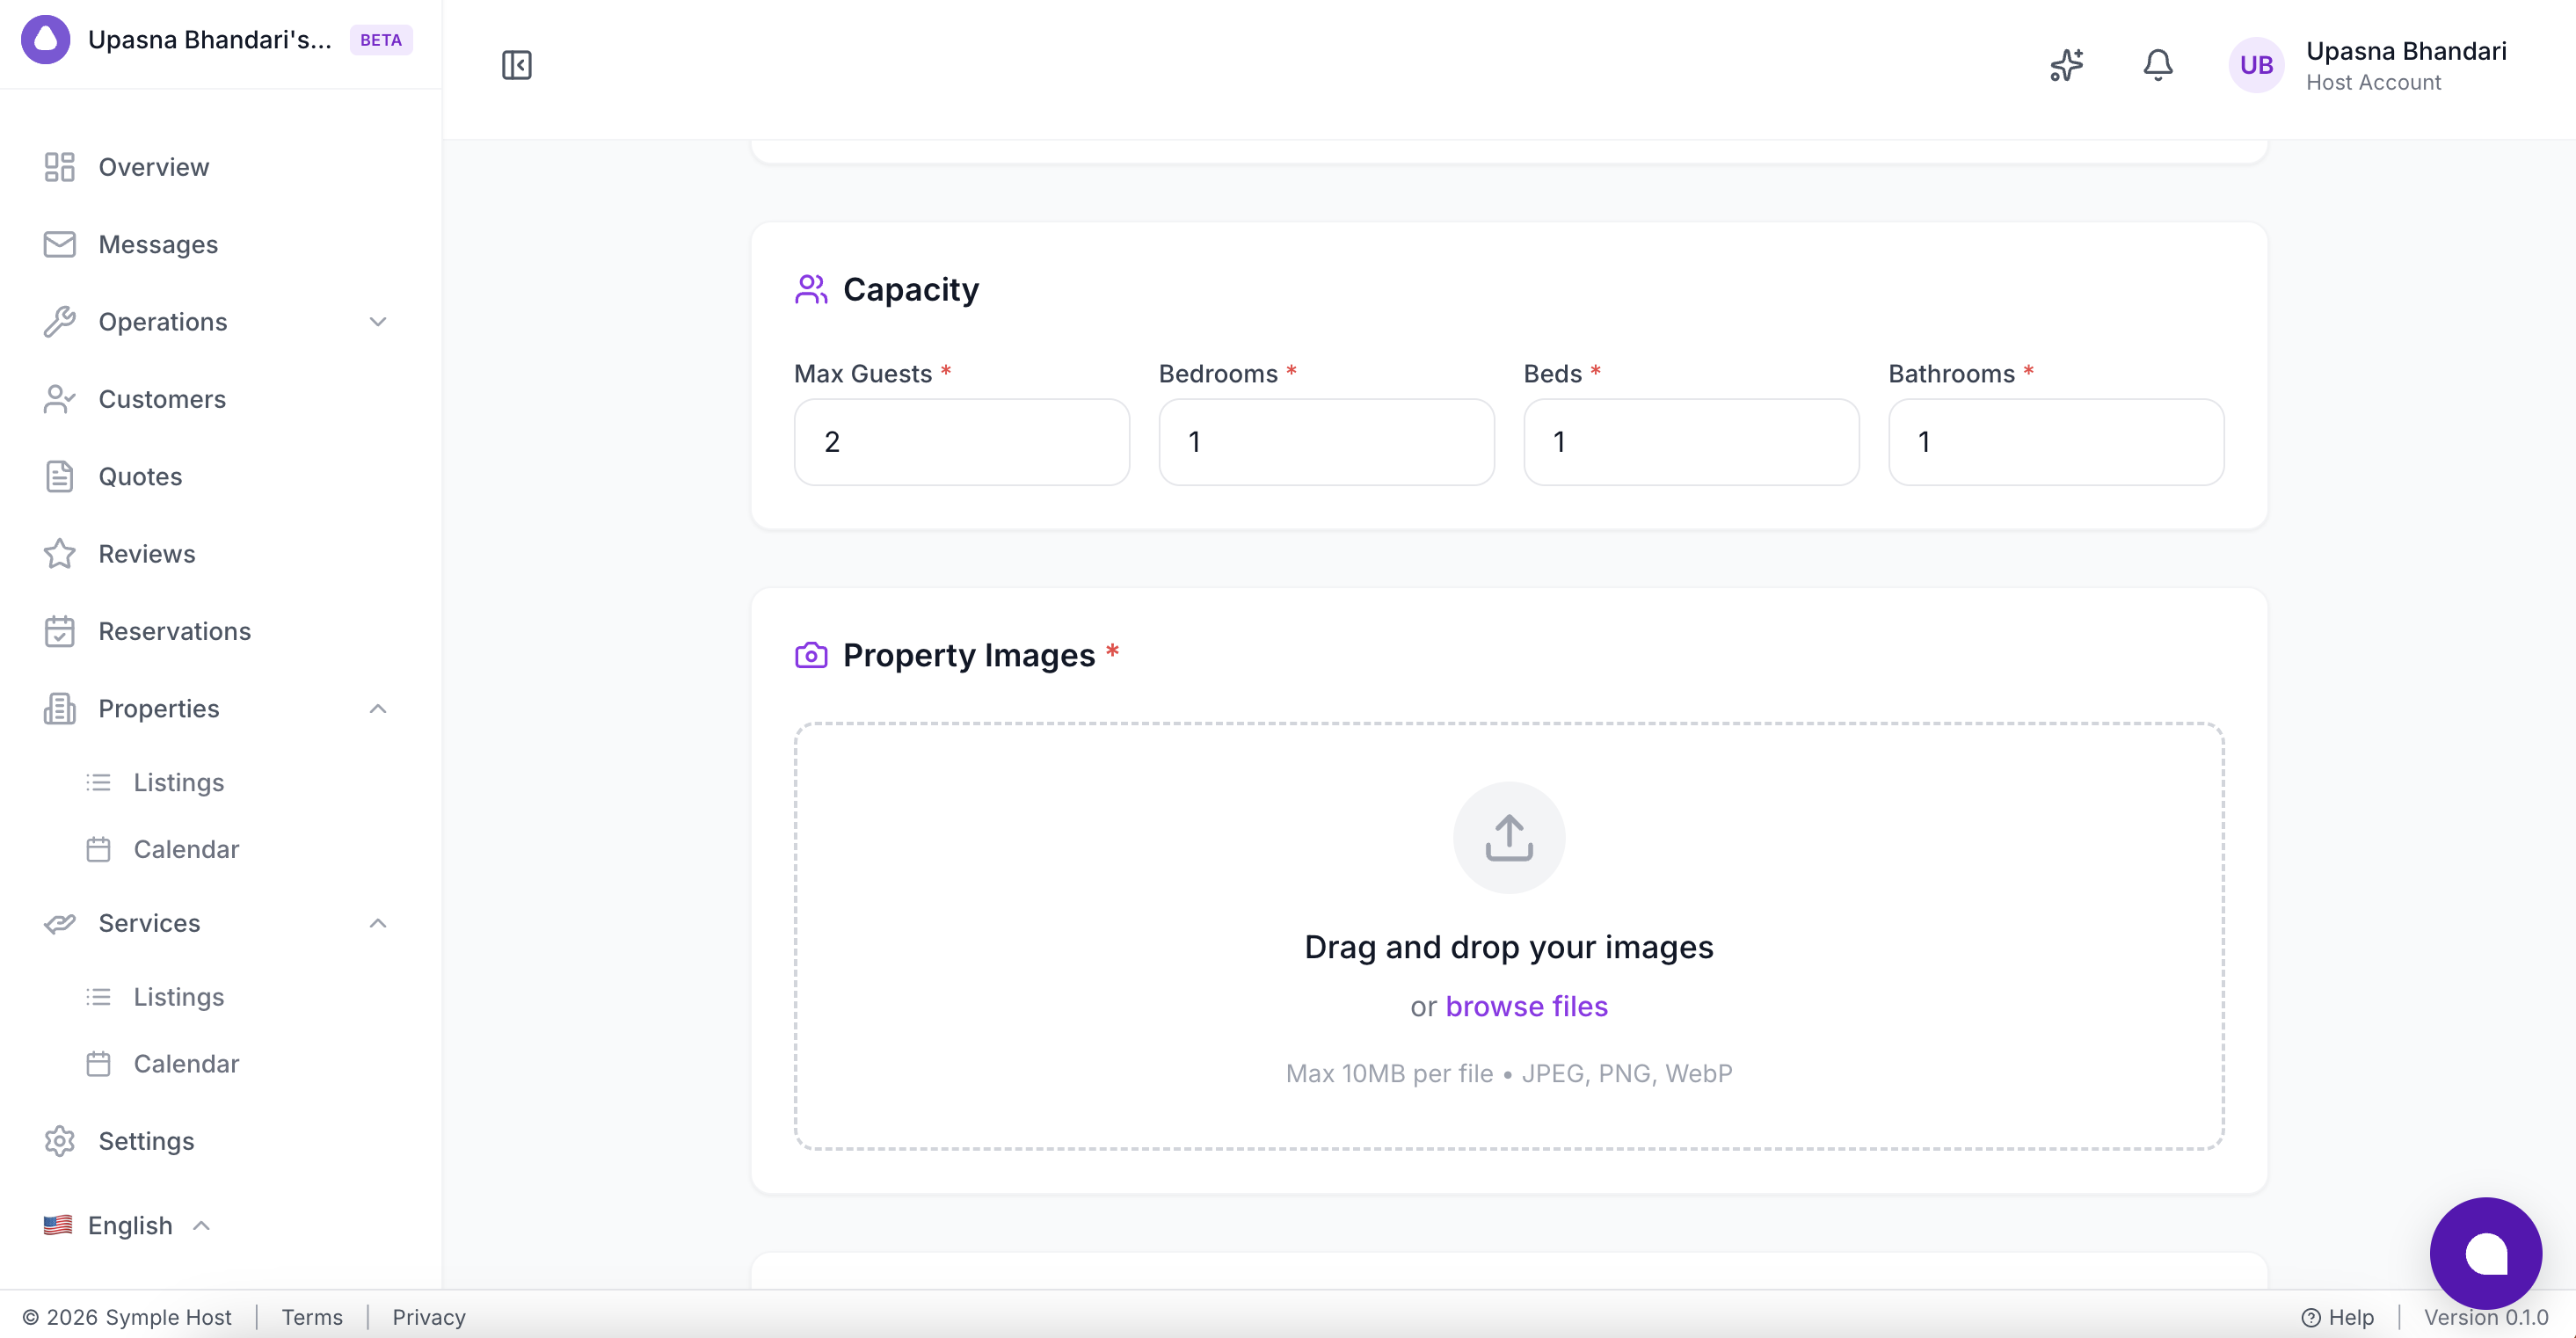
Set Capacity:
- Max Guests — the maximum number of people allowed
- Bedrooms, Beds, Bathrooms — all required fields
- Number of units — identical rooms or apartments sold under this one listing. Each unit can take its own booking on the same night.
Running a guesthouse or boutique hotel with several identical rooms? Keep it as one Standalone property and set Number of units. The calendar handles that inventory, so you do not need a separate listing for each room. See Setting Up a Guesthouse or Boutique Hotel with Several Rooms.
-
Upload Property Images — drag and drop your photos or click browse files. Supports JPEG, PNG, and WebP (up to 10MB per file).
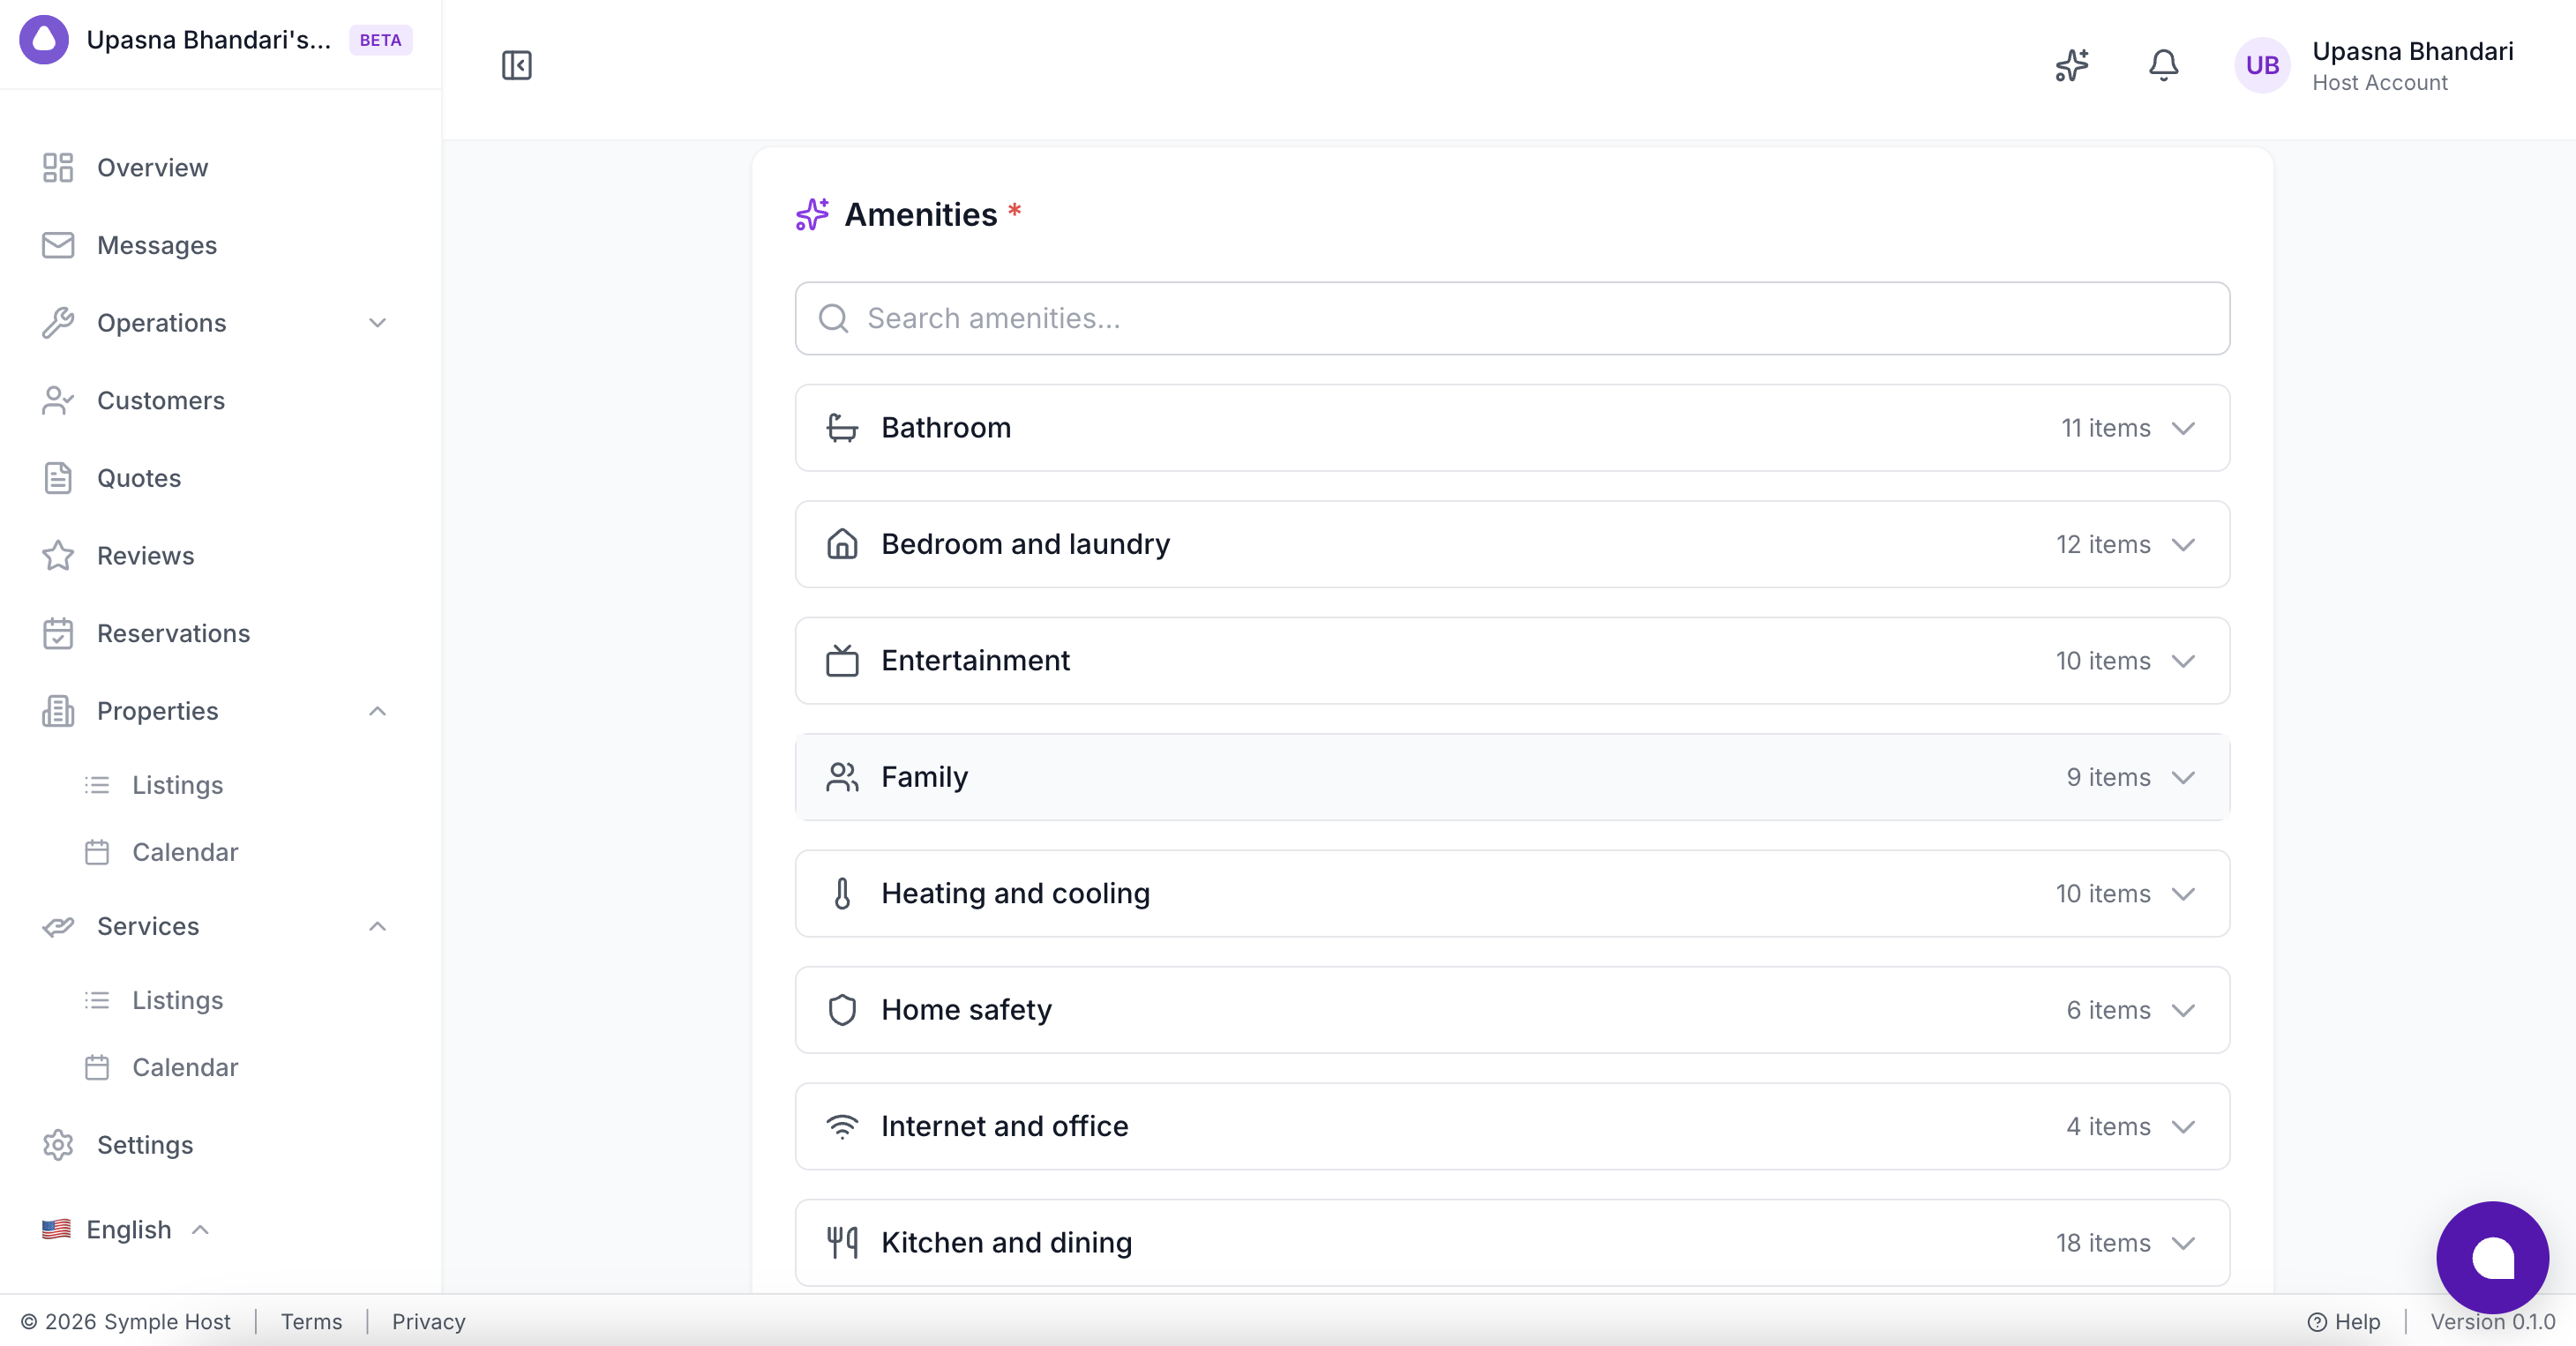
- Select Amenities — browse through categories like Bathroom, Bedroom and laundry, Entertainment, Family, Heating and cooling, Home safety, Internet and office, Kitchen and dining, and more. Expand each category to tick everything your property offers.
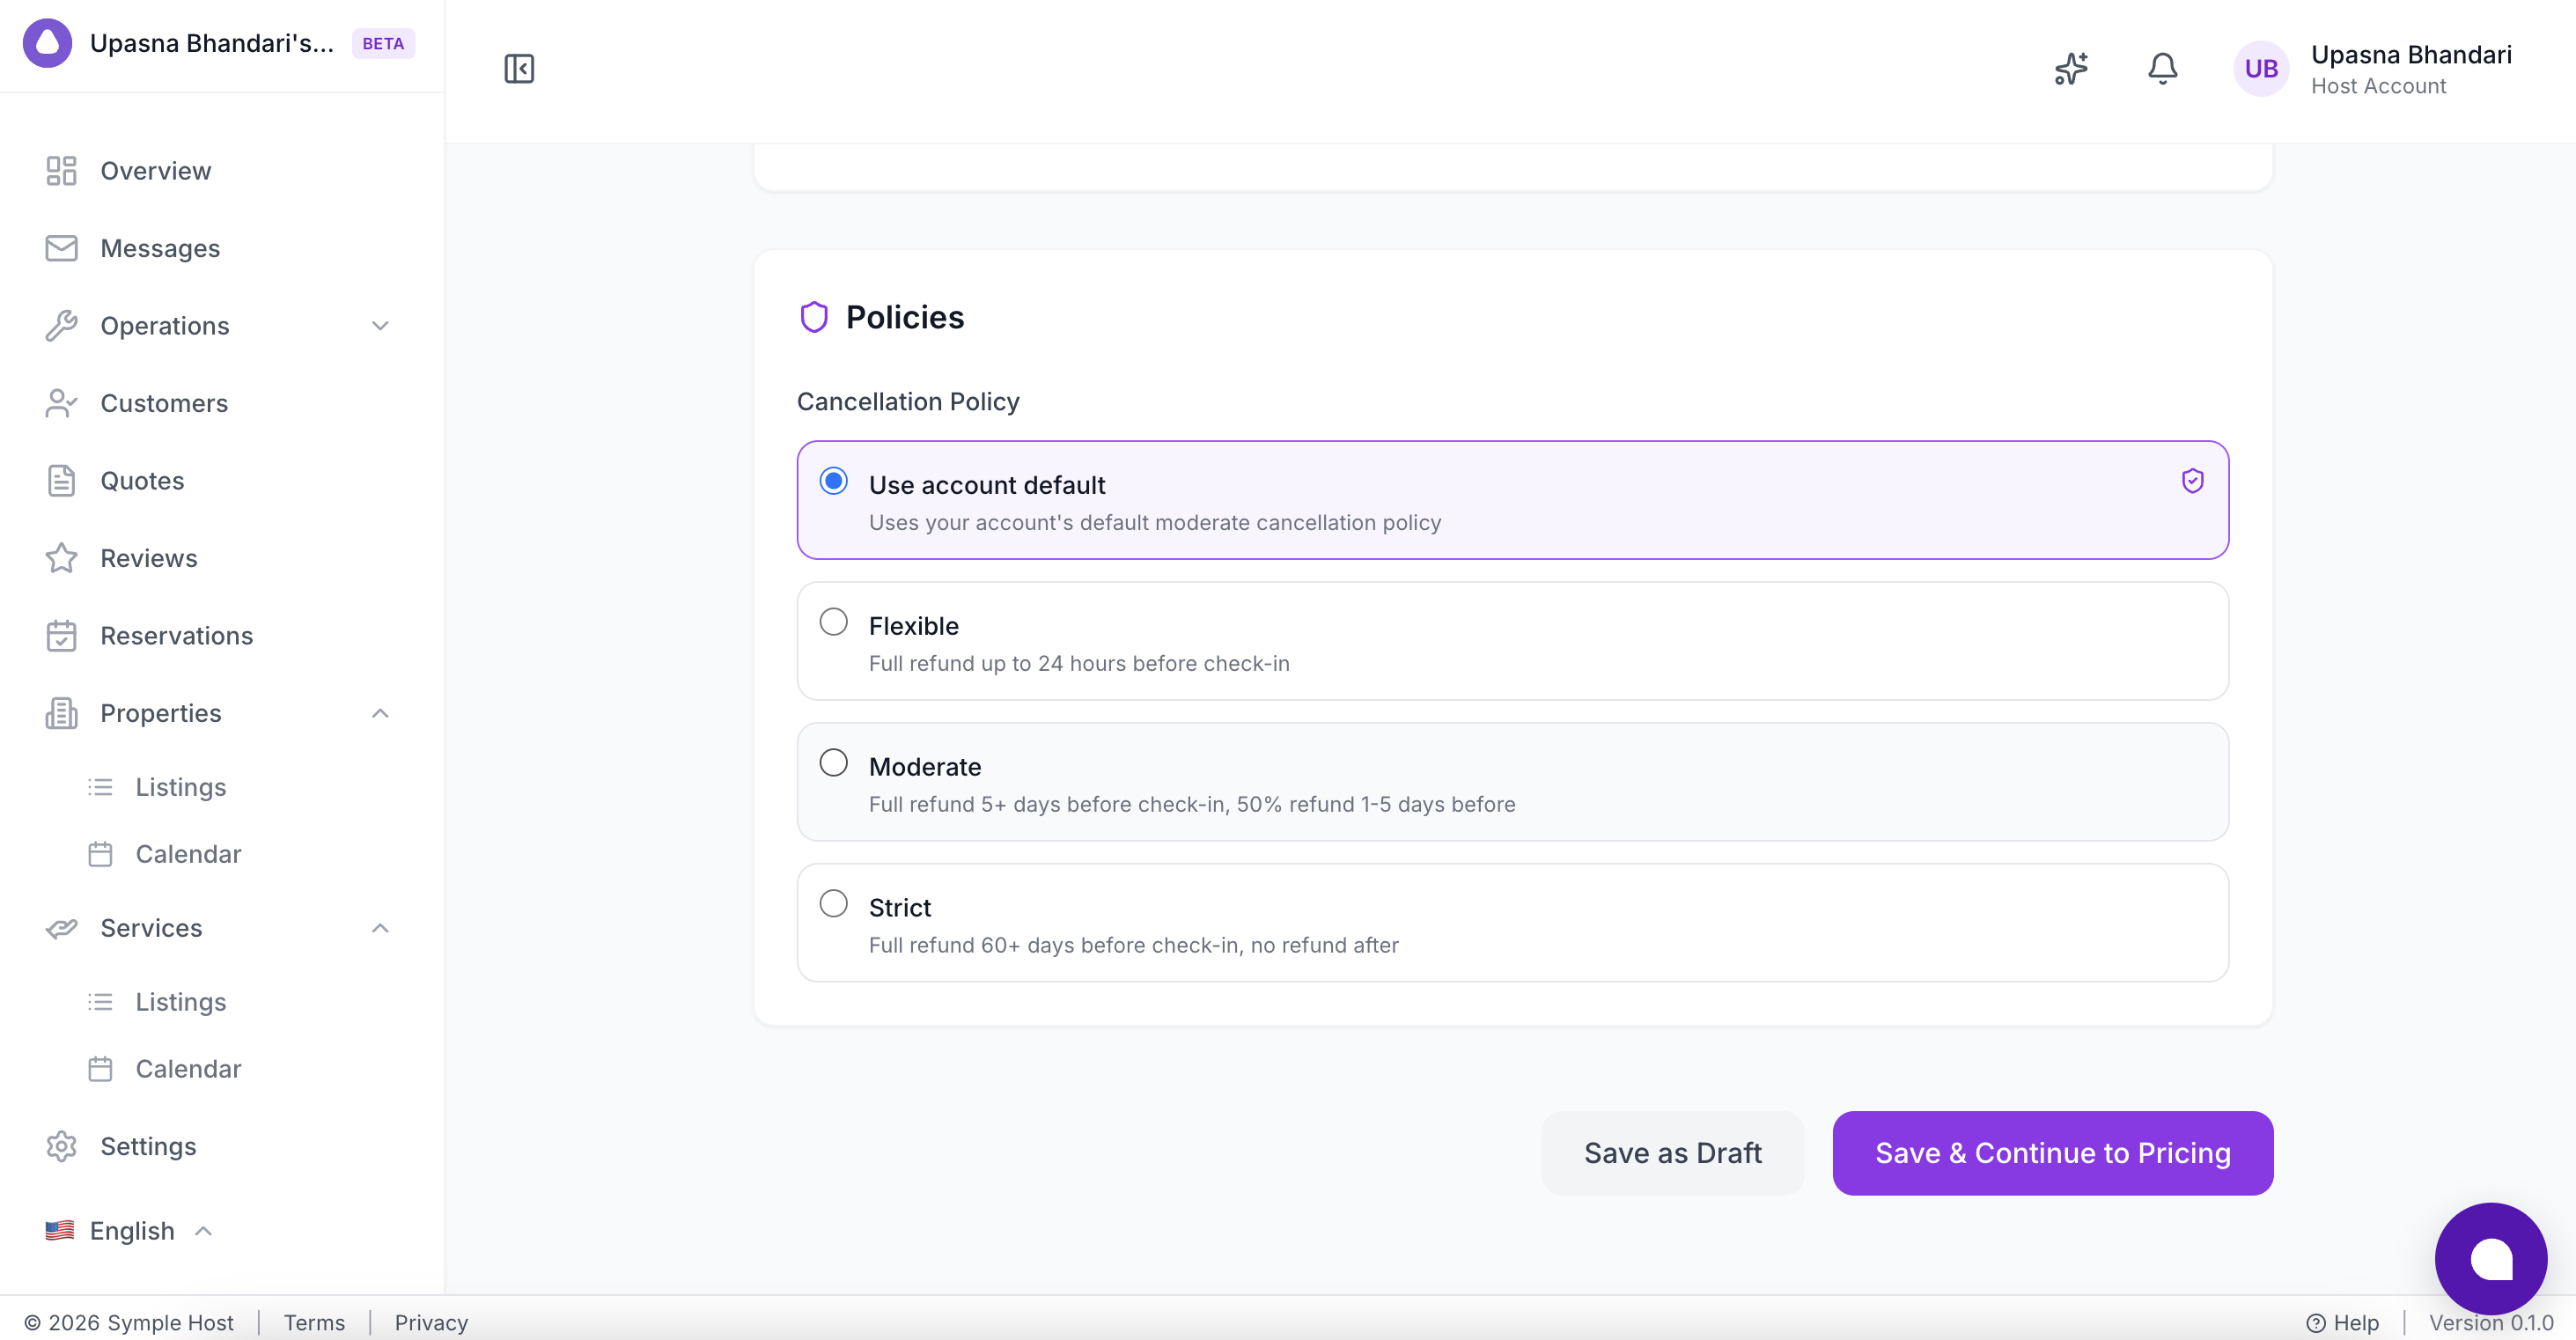
- Choose a Cancellation Policy:
- Use account default — applies your account’s default moderate cancellation policy
- Flexible — full refund up to 24 hours before check-in
- Moderate — full refund 5+ days before check-in, 50% refund 1–5 days before
- Strict — full refund 60+ days before check-in, no refund after
- Click Save & Continue to Pricing to set your rates, or click Save as Draft if you want to come back and finish later.
You’ll be taken to the pricing configuration page to set your nightly rates, seasonal pricing, and any fees or add-ons.
What to Check Before Connecting Channels
Before you connect Booking.com, Expedia, Agoda, VRBO, or other channels through Channel Manager, review:
- Address and timezone — these affect calendar and check-in information.
- Capacity — max guests, bedrooms, beds, and bathrooms should match what guests can actually book.
- Number of units — for a guesthouse or boutique hotel, how many identical rooms are sold under this listing.
- Photos and amenities — these become guest-facing references for your team and AI workflows.
- Cancellation policy — make sure the policy matches how you want direct bookings handled.
- Standard rate — set a realistic base rate before opening availability.
Troubleshooting
I don’t see the ”+ New Property” button
The + New Property button is only visible to roles that can manage listings — typically Account Owner, Account Admin, or Account Manager. If your role is Booking Coordinator, ask your account owner to update your role under Settings → Team Members.
Address search isn’t working
Switch to manual entry — fill in the Street Address, City, and Country fields directly instead of using the search bar.
My images won’t upload
Check that each file is under 10MB and in JPEG, PNG, or WebP format. GIF files are not supported for property images.