
What Is the Payment Gateway?
Your payment gateway is the processor SympleHost uses to collect money from guests for direct bookings, services, store items, deposits, and payment links.
Depending on your country and account access, you may see options such as Stripe, Razorpay, HitPay, Doku, Xendit, or Offline / Manual Payments. Only connect the gateway you are ready to use for real guest payments.
When to Use This
- You accept direct bookings (guests booking directly with you, not through Airbnb or Booking.com)
- You sell services or store items through your guest book
- You want to send payment links to guests for additional charges
How to Choose and Connect a Gateway
-
Click your profile photo or name in the top right, then choose Settings.
-
Under the Direct Bookings section, click Payment Gateway.
-
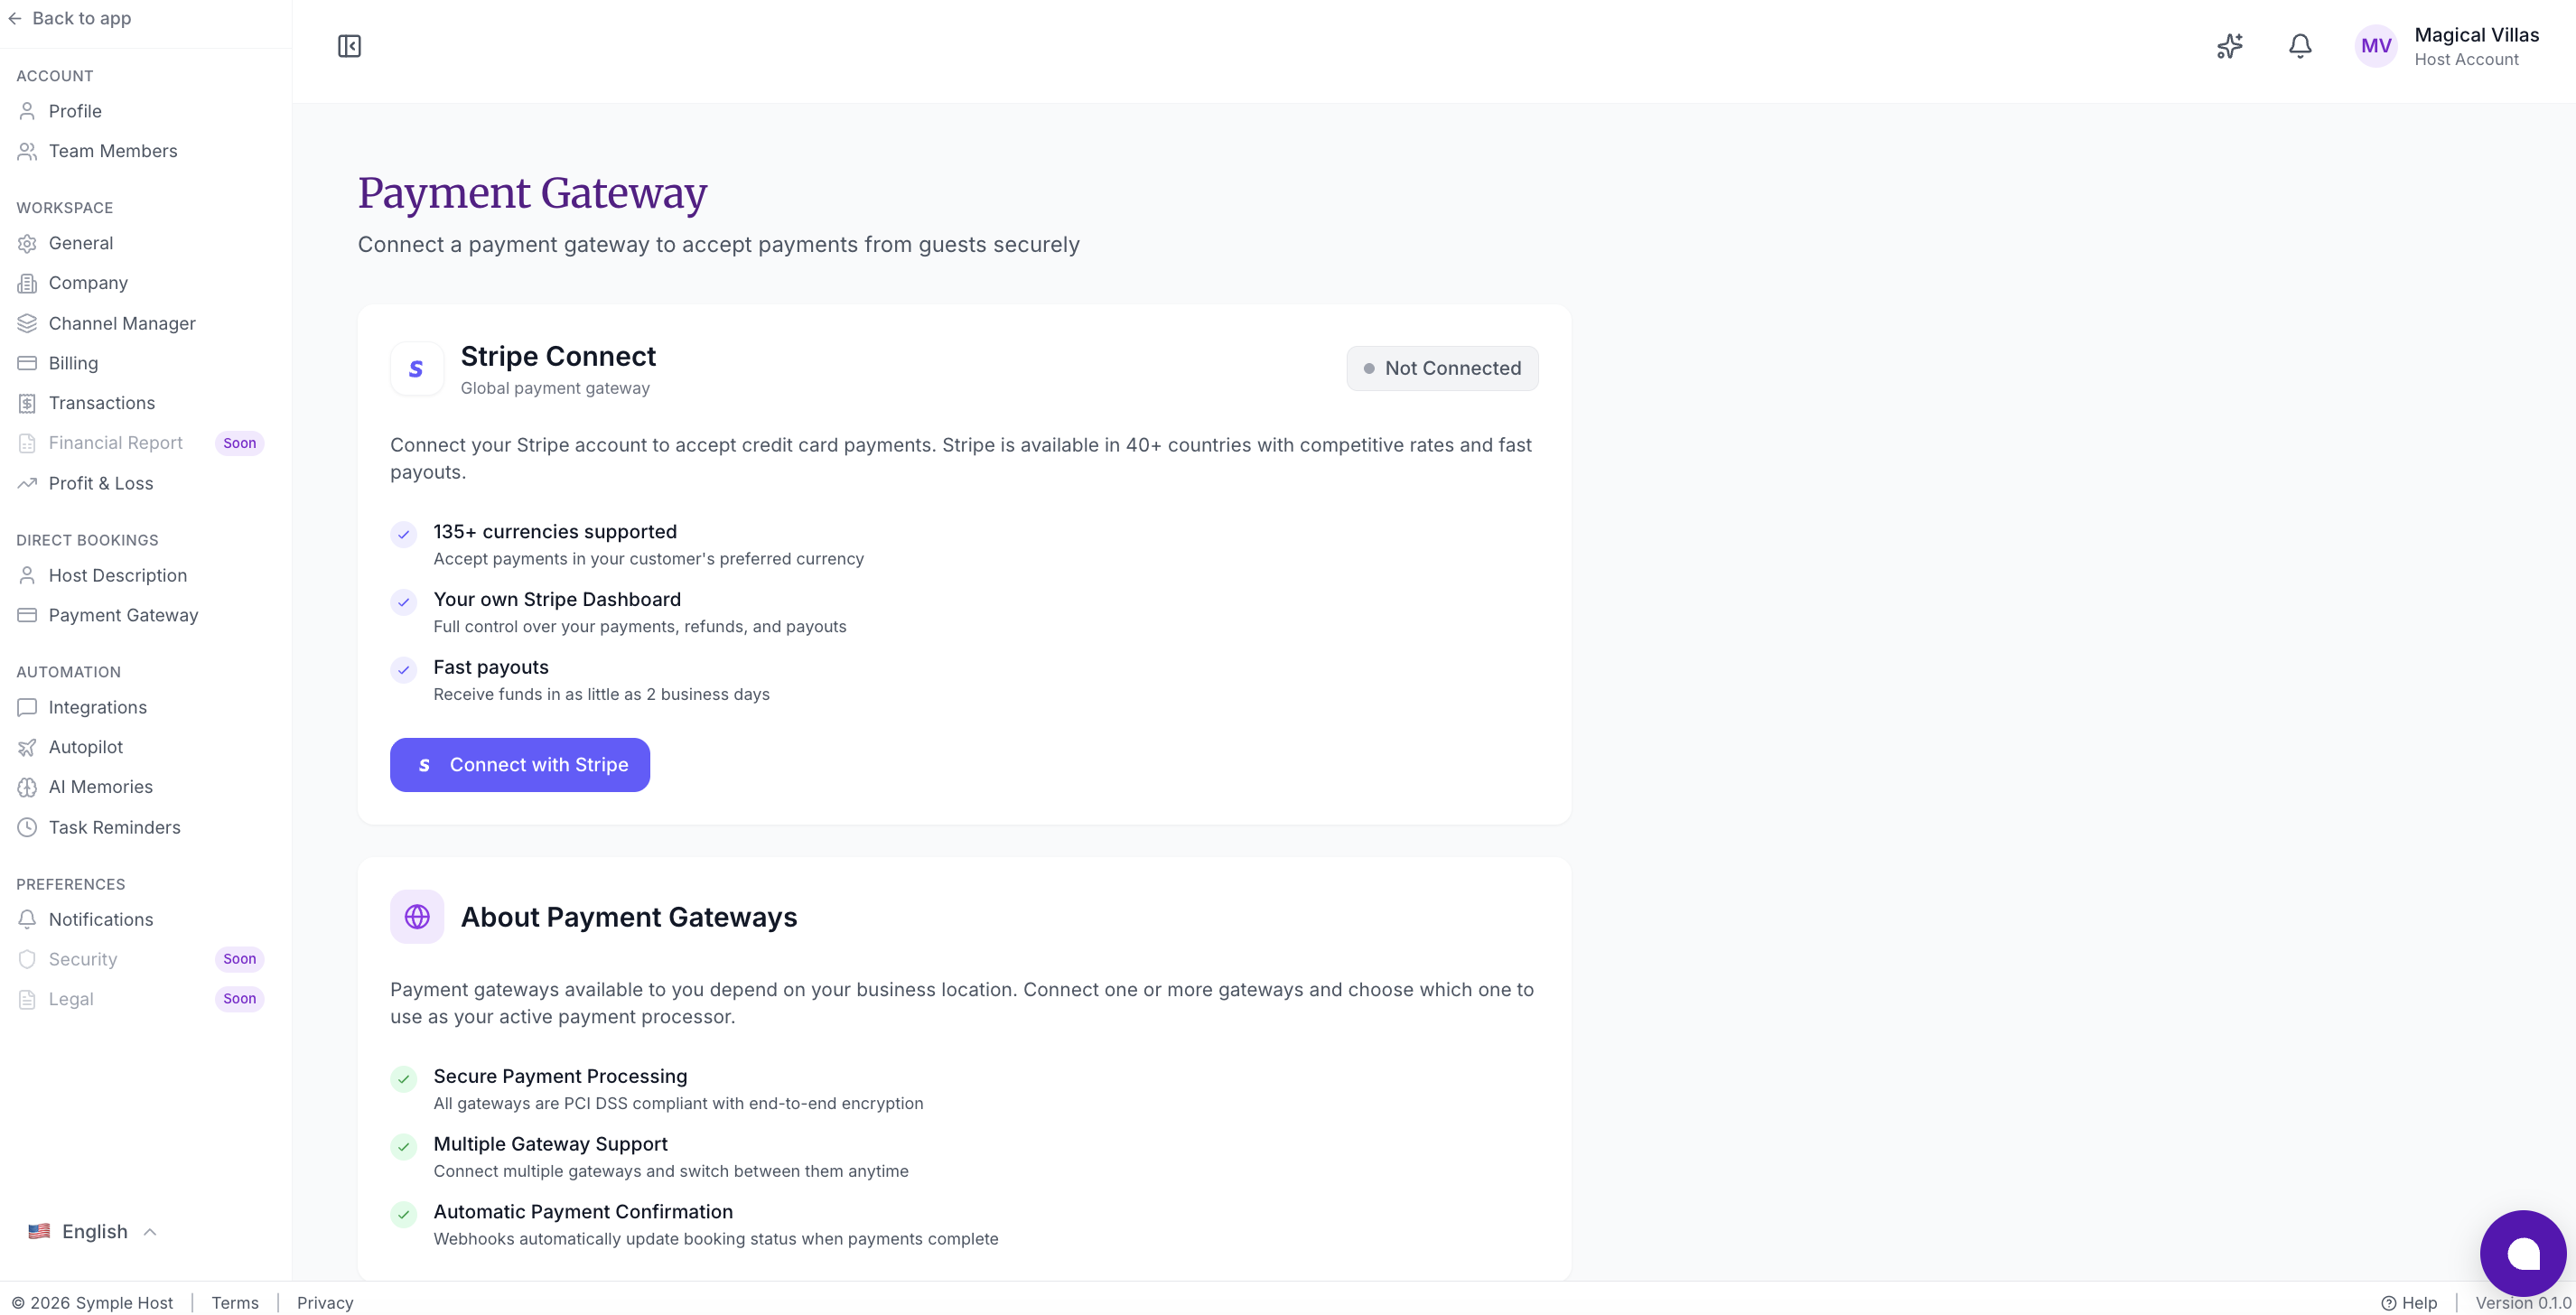
You’ll see the Payment Gateway page with a picker showing the available gateway options for your account and country.
-
Select the gateway you want to connect.
-
Follow the setup instructions shown for that gateway. Some gateways send you through a provider login flow, while others ask you to copy keys from the provider dashboard.
-
Complete any provider verification steps.
-
Return to SympleHost and confirm the gateway shows as connected and active.
Only one online payment gateway can hold the account connection slot at a time. If another gateway is already connected, SympleHost locks the other connection buttons until you disconnect the current provider.
What Each Gateway Needs
| Gateway | What you need before connecting | How it connects | What to check after connecting |
|---|---|---|---|
| Stripe Connect | A Stripe account, business details, bank account details, and any identity/tax documents Stripe requests. | Click Connect with Stripe and complete Stripe’s hosted setup. You do not paste Stripe API keys into SympleHost. | Stripe should show Charges Enabled: Yes and Payouts Enabled: Yes before guests can pay successfully. |
| Razorpay | Key ID, Key Secret, and Webhook Secret from Razorpay. Use live keys for real guest payments or test keys with sandbox mode. | Paste the keys into the Razorpay card in SympleHost, then add the webhook URL shown in SympleHost to Razorpay. | The card may show Pending webhook until the webhook is confirmed. Set it as active once it is ready. |
| HitPay | API Key and Webhook Salt from HitPay. | Paste both values into the HitPay card in SympleHost. | Confirm the gateway shows Connected, then set it as active if it is not already active. |
| Doku | Client ID and Secret Key from DOKU Back Office. Choose sandbox or production mode carefully. | Paste the credentials into the Doku card, then configure the notification/webhook URL shown in SympleHost inside DOKU Back Office. | Doku may stay pending until the notification URL is confirmed or a verified webhook is received. |
| Xendit | Secret API Key and Callback Verification Token from Xendit. The public key is not required. | Paste both values into the Xendit card, then add the webhook URL shown in SympleHost under Xendit developer webhook settings. | Xendit may stay Pending webhook until webhook setup is confirmed. |
| Offline / Manual Payments | A payment URL, bank transfer instructions, Wise/PayPal.me link, or other instructions you want to show guests. | Save the URL and instructions in the offline payment card. | Manual payments are not automatically reconciled. Your team must verify receipt and update the reservation/payment status manually. |
If You Connect Stripe
- Select Stripe from the gateway picker.
- Click Connect with Stripe.
- Complete Stripe’s hosted setup. You may need your business details and bank account information.
- Return to SympleHost and confirm Stripe shows as connected.
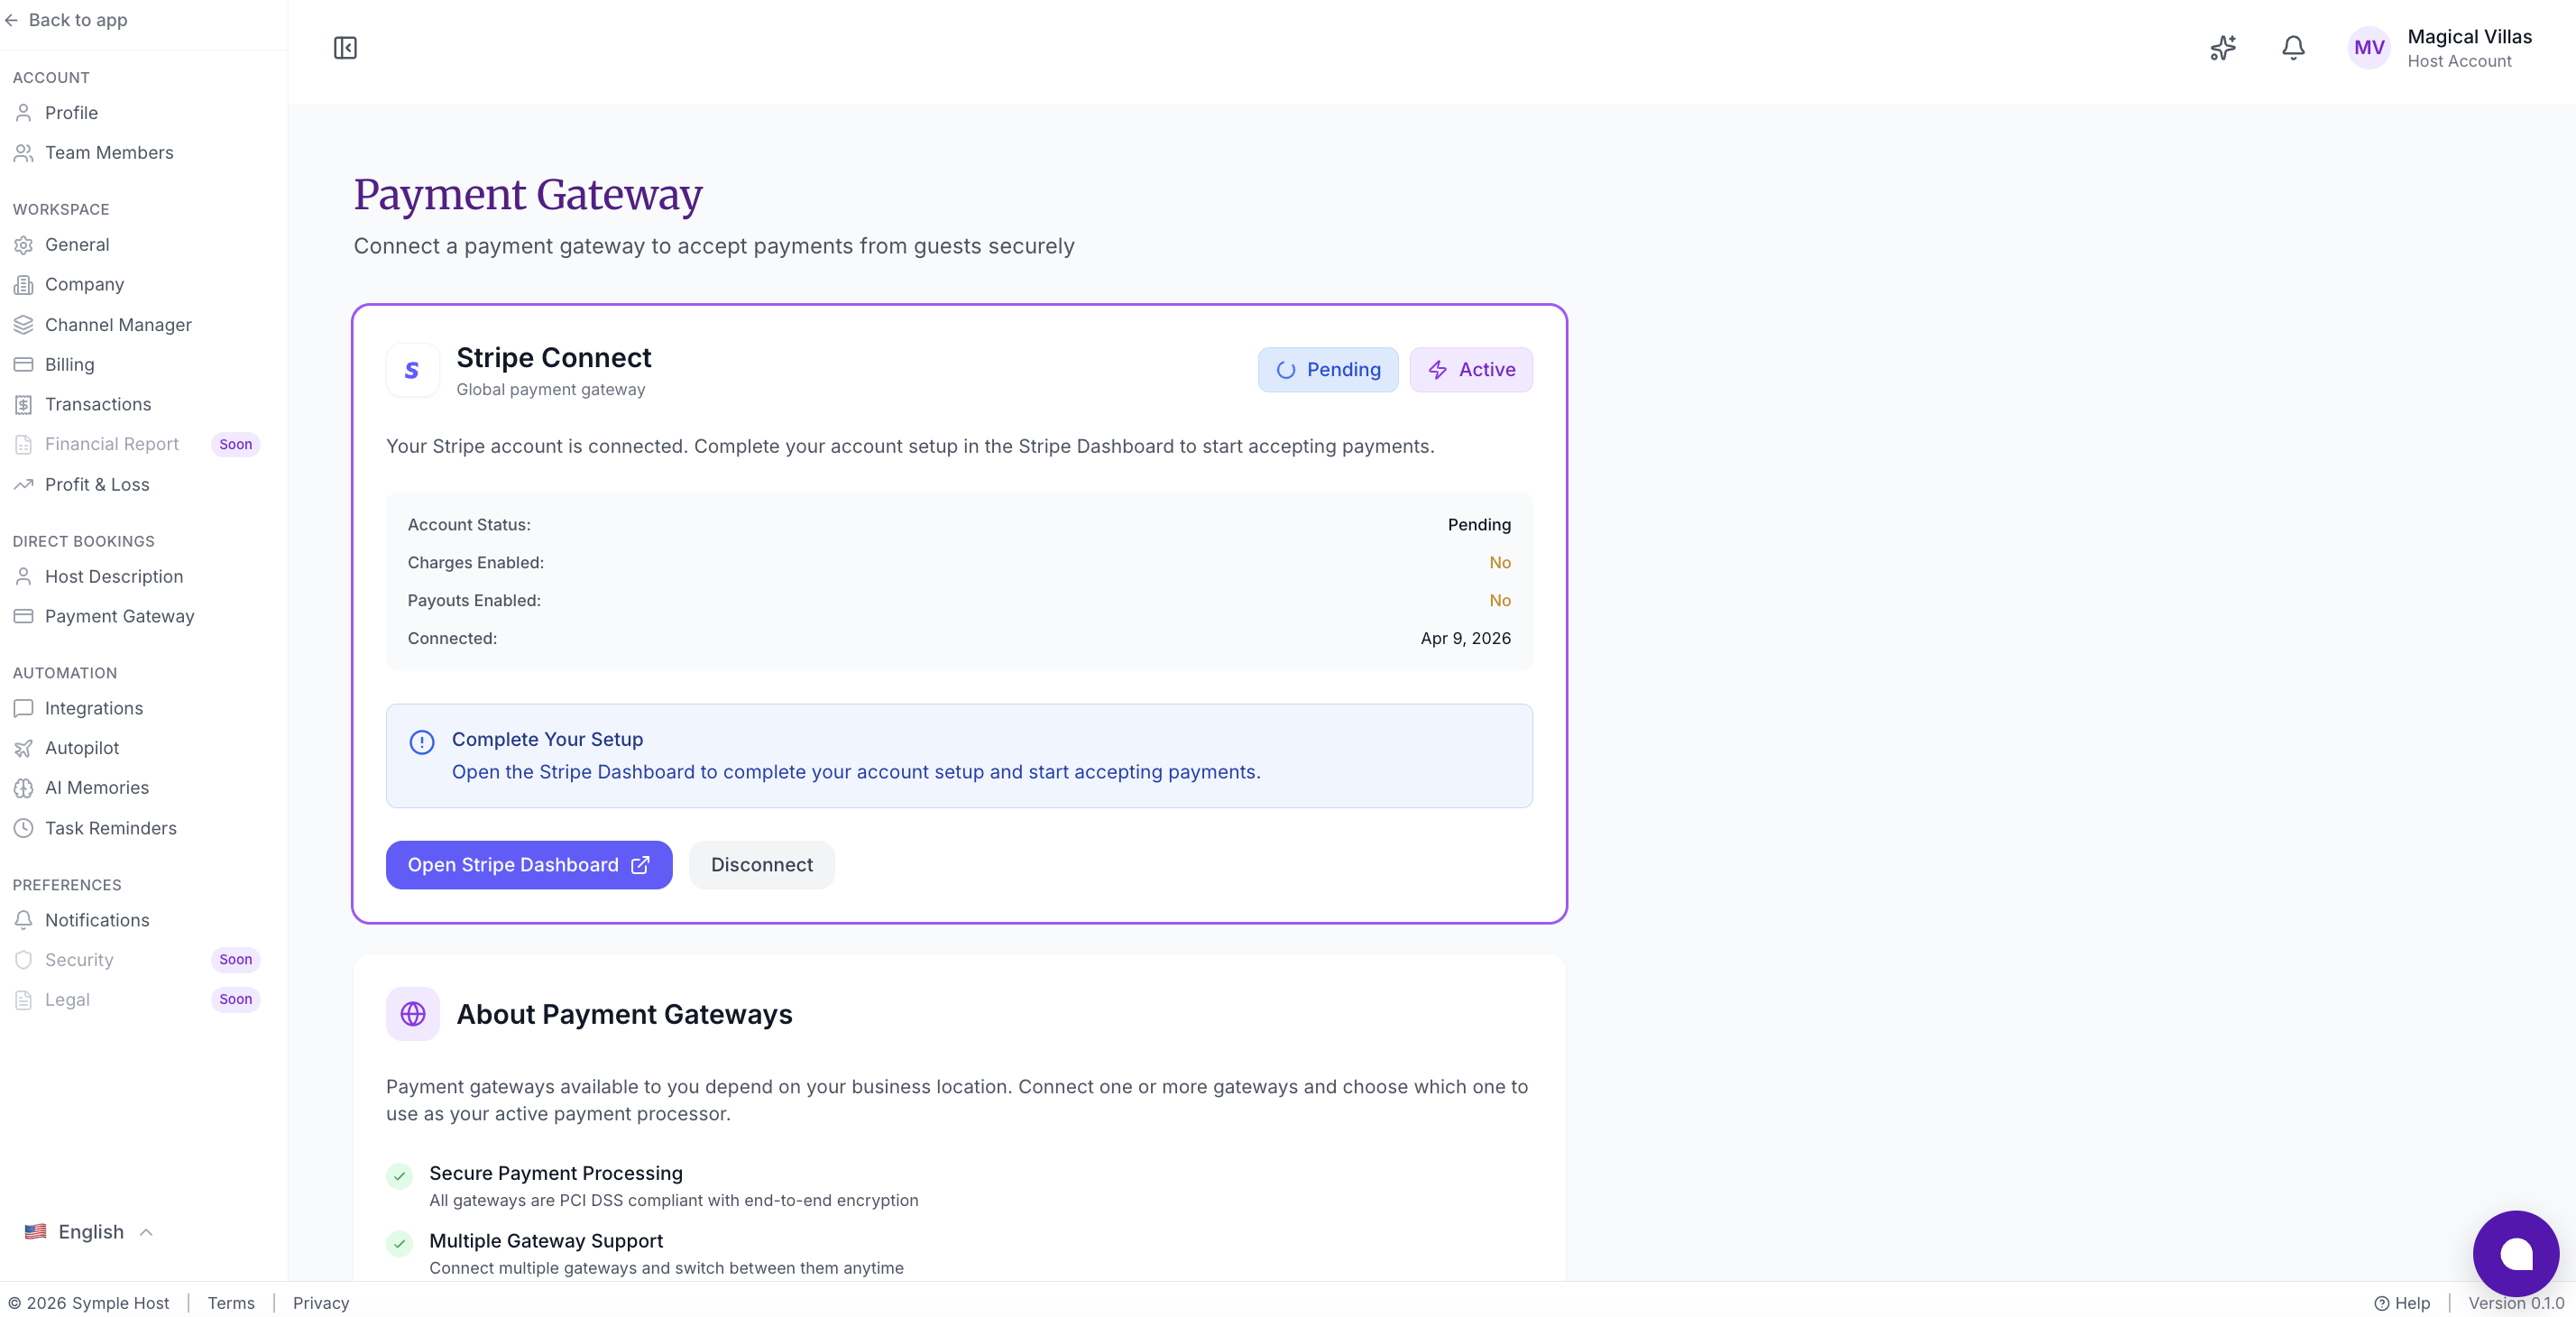
- If Stripe shows Charges Enabled or Payouts Enabled as incomplete, open Stripe and finish the required verification.
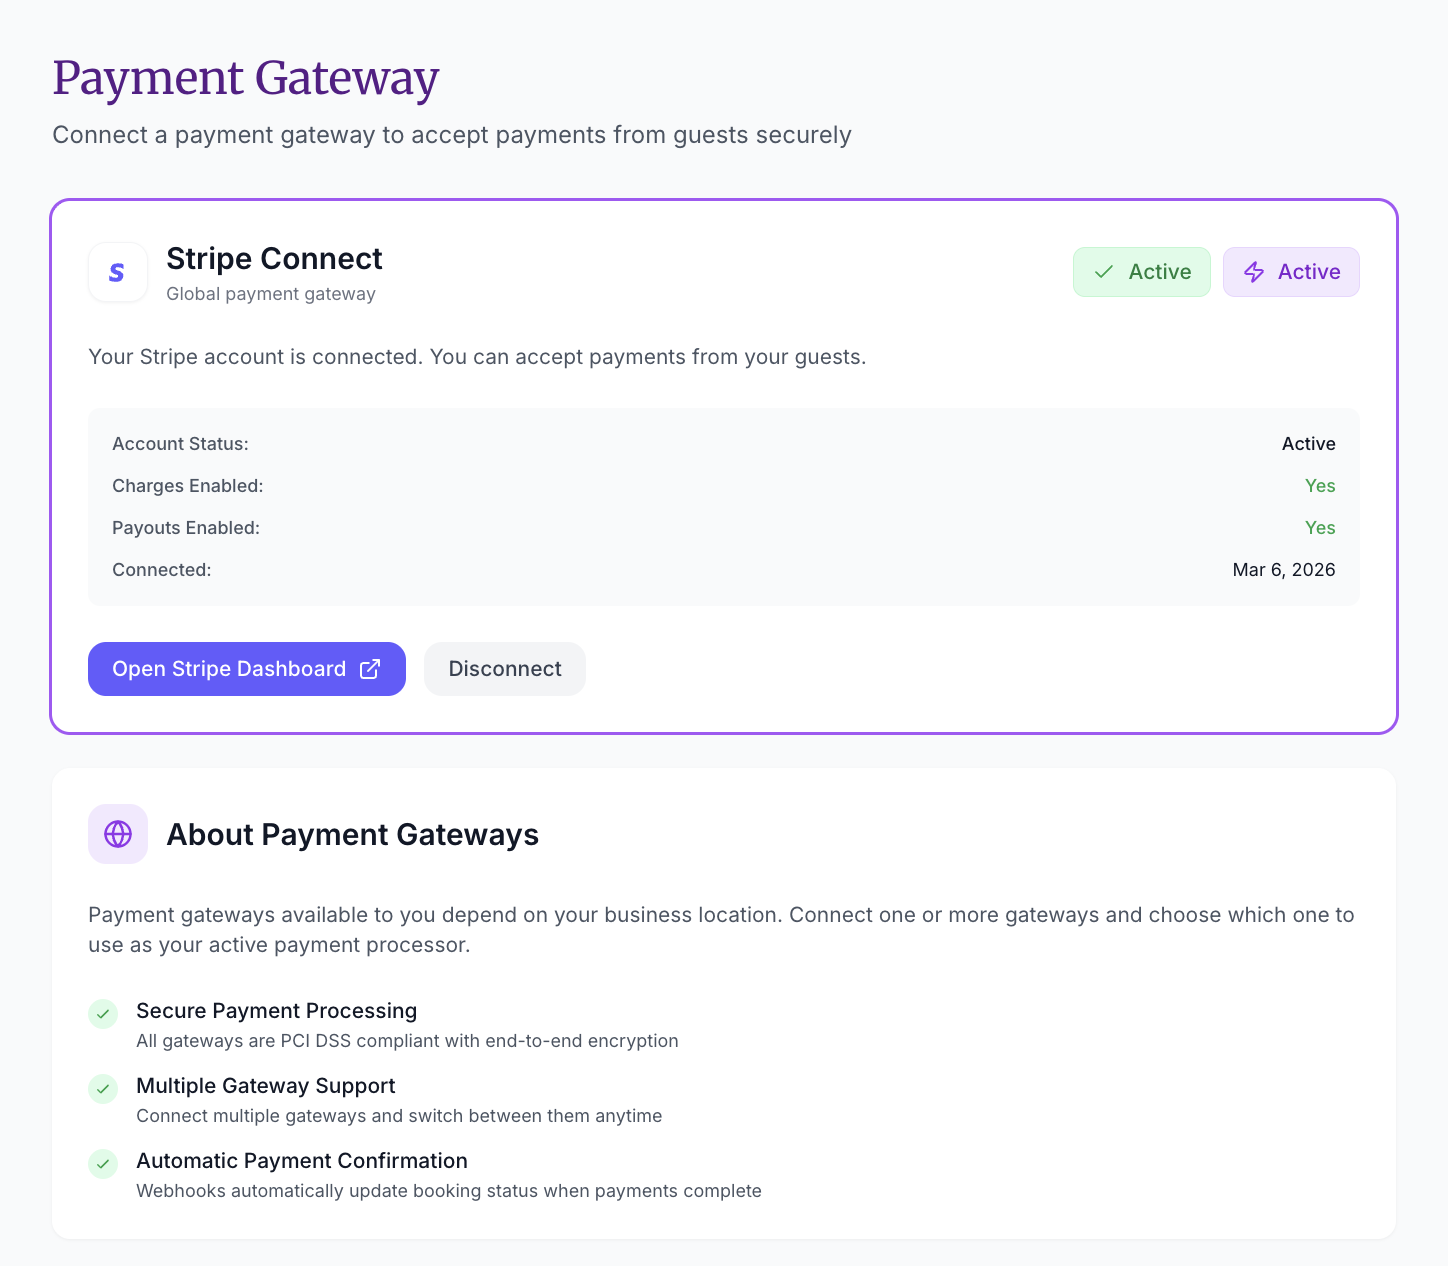
Once Stripe is fully ready, the status should show as active and both charges and payouts should be enabled.
If You Use a Key-Based Gateway
Gateways such as Razorpay, HitPay, Doku, or Xendit require credentials from the provider dashboard.
- Open the payment provider dashboard in another tab.
- Copy the exact credentials required for that provider.
- Paste the credentials into SympleHost.
- If SympleHost shows a webhook or notification URL, copy that URL into the provider’s webhook settings.
- Save and confirm the provider shows as connected or pending webhook.
- Make sure the provider is in live or production mode before accepting real payments.
If you see a sandbox or test-mode badge, reconnect with live credentials before guests pay.
For key-based providers, never paste credentials from one environment into another. For example, do not use live API keys while the SympleHost gateway card is set to sandbox mode.
Webhook or Notification URL Setup
Some providers need a webhook or notification URL so SympleHost can confirm successful payments automatically.
- Razorpay — add the webhook URL shown in SympleHost to Razorpay, using the same webhook secret you entered in SympleHost.
- Doku — add the notification URL shown in SympleHost inside DOKU Back Office.
- Xendit — add the webhook URL shown in SympleHost under Settings → Developers → Webhooks. Include payment session events such as
payment_session.completedandpayment_session.expired.
Until the webhook is confirmed, the gateway may show Pending webhook and may not be ready to activate.
What to Configure After Payments
Payments are only one part of direct booking readiness. Also review:
- Settings → Direct Bookings → Deposits
- Settings → Direct Bookings → Cancellation Policy
- Settings → Direct Bookings → Fees & Taxes (see How to Set Up Fees and Taxes for Direct Bookings)
- Settings → Direct Bookings → Guest Contact
- Settings → Direct Bookings → Host Profile & Contact
Do this before you publish a direct booking website or send payment links to guests.
About Payment Gateway Status
The bottom of the Payment Gateway page explains key features:
- Secure Payment Processing — all gateways are PCI DSS compliant with end-to-end encryption
- Gateway Availability — available gateways depend on your country, account access, and enabled payment providers
- Automatic Payment Confirmation — webhooks automatically update booking status when payments complete
Troubleshooting
I don’t see the Payment Gateway option in Settings
This setting is under Direct Bookings inside Settings. If you still don’t see it, it’s a role issue — finance and billing settings are only visible to the Account Owner and Account Admins. Ask your account owner to update your role under Settings → Team Members.
Stripe says “Charges Enabled: No” or “Payouts Enabled: No”
This usually means your Stripe account setup isn’t complete. Click Open Stripe Dashboard and check for any pending verification steps — Stripe sometimes needs additional identity or banking documents.
Payouts aren’t arriving in my bank account
Stripe typically takes 2–7 business days for the first payout. After that, payouts happen on a rolling schedule. Check your Stripe dashboard for payout status and any holds.
Another gateway is locked
Only one online gateway can be connected in the account gateway slot at a time. Disconnect the current gateway before connecting another online gateway.
A gateway says “Pending webhook”
Check the provider dashboard and confirm the webhook or notification URL matches the URL shown in SympleHost. If the provider has test and live modes, make sure the webhook is configured in the same mode as the keys you entered.
Guests paid manually but SympleHost did not update automatically
Offline/manual payments do not auto-reconcile. Confirm the money arrived in your bank or provider account, then update the reservation or payment status manually.
No payment gateways are available
You’ll see: “No payment gateways are currently available for your country.” Contact SympleHost support if you believe this is an error.